We earn a commission from purchases made through links on our site. Please support us.
Systainers are dangerous. If you’re the type of person who is excited by organization, then an expensive rabbit hole awaits you. I happen to be such a person. Inevitably, I noticed that systainers have labels, and the default labels that they come with are not sufficient. I decided to figure out what it would take to make a labeling system that is cheap, easy to print, easy to edit, and that works for every tool brand or work category.
A Rough Idea
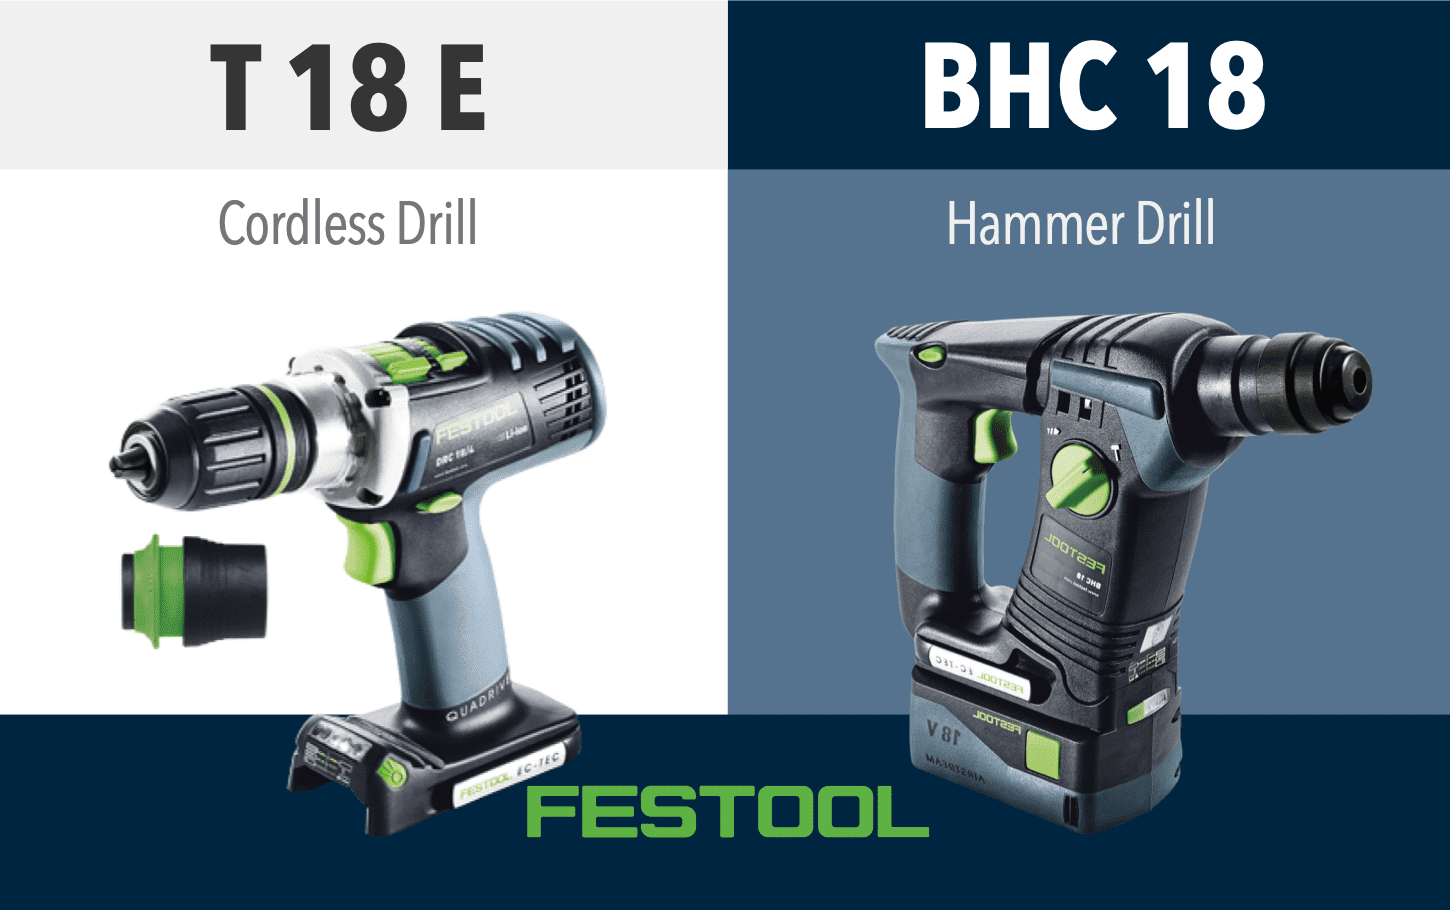
It makes sense to start with the labels that Festool offers for download. You can either pick a specific tool, or pick “Accessories” from the official templates. I went with Accessories to get a roughly clean slate. Then, open in your vector editor of choice. I use Graphic for Mac, but only out of familiarity. There are plenty of great, affordable vector editors out there.
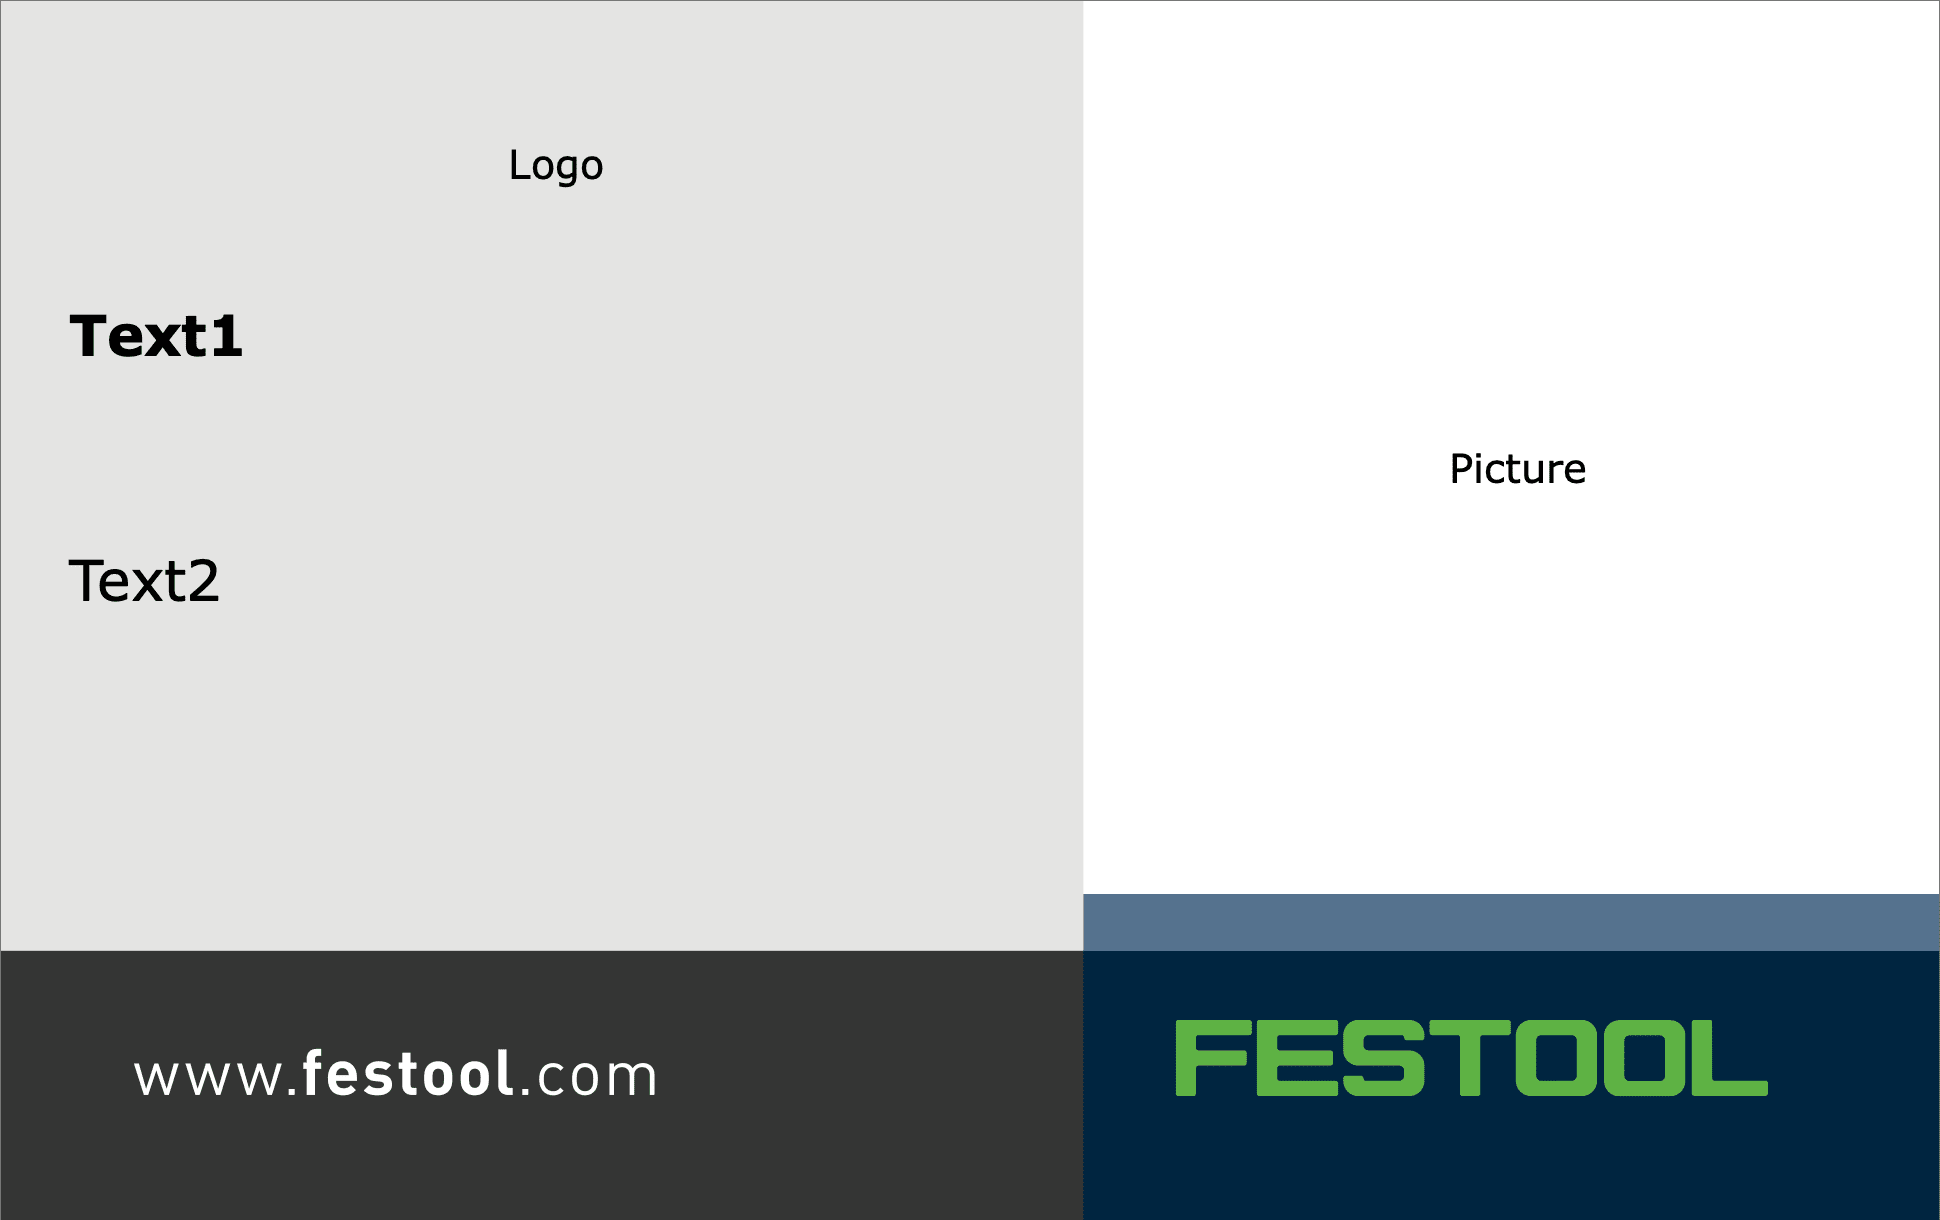
Festool template.
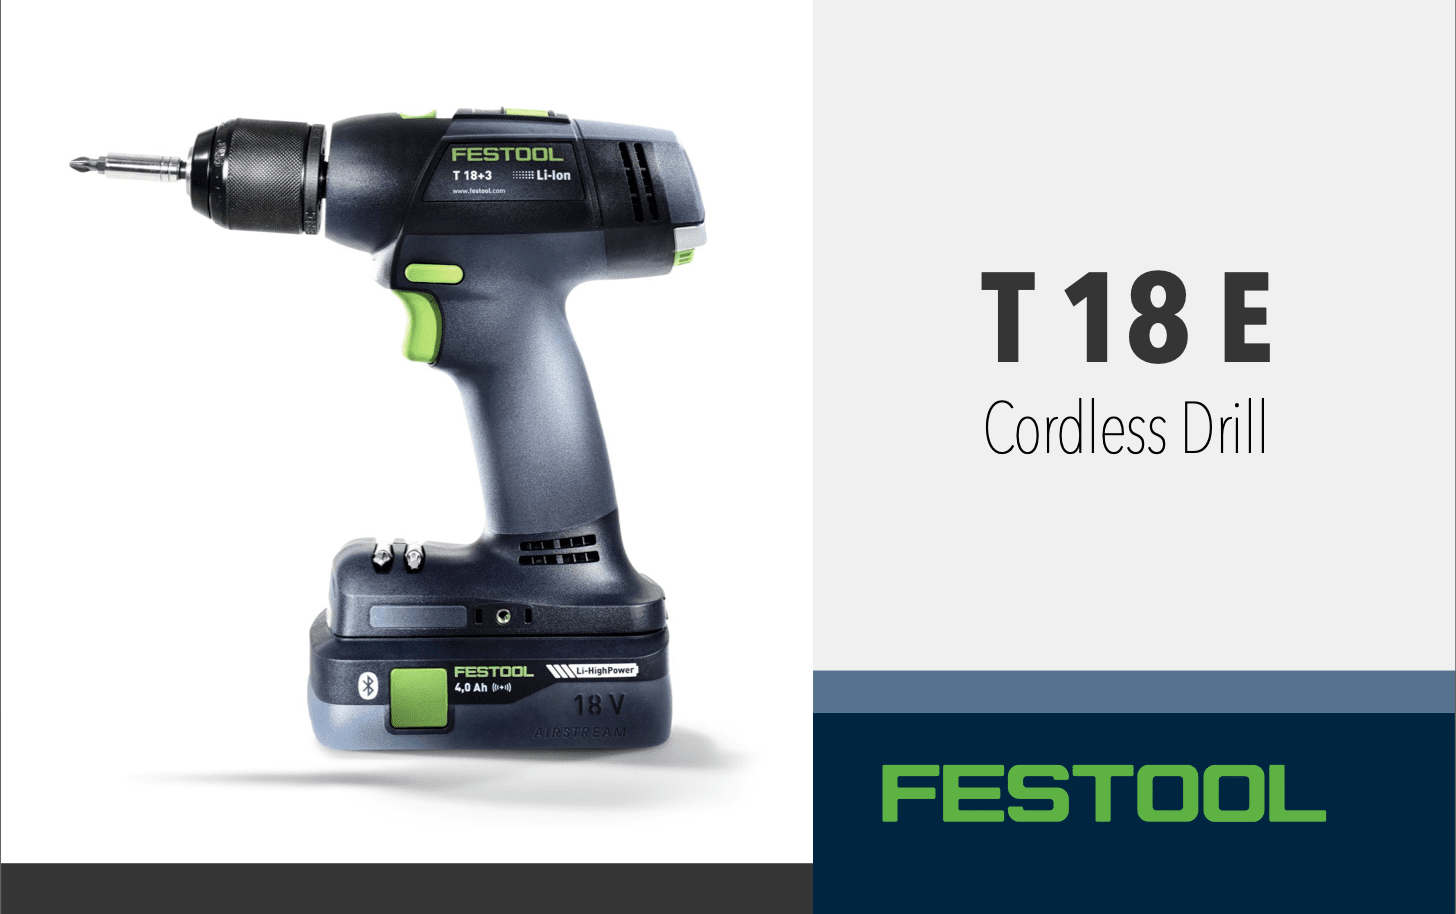
A first pass.
That template will get you size and colors, but that’s about it. You can get each individual letter of the Festool logo in vector format from that file, but I found it easier to work with all brands using BrandEPS. From there, you’re best starting from scratch in a new document. I’m trying to keep in mind that I need to know the tool name more than anything else, so marketing, URL’s, logos and other design elements are not as important.
note The BrandEPS logo differs slightly from the official logo
Different Brands and Use Cases
After playing around with single tool / single brand scenarios, it’s time to consider of the different labeling needs. The immediate things that come to mind are different brands, multiple tools per systainer, organization by task, and personal branding.
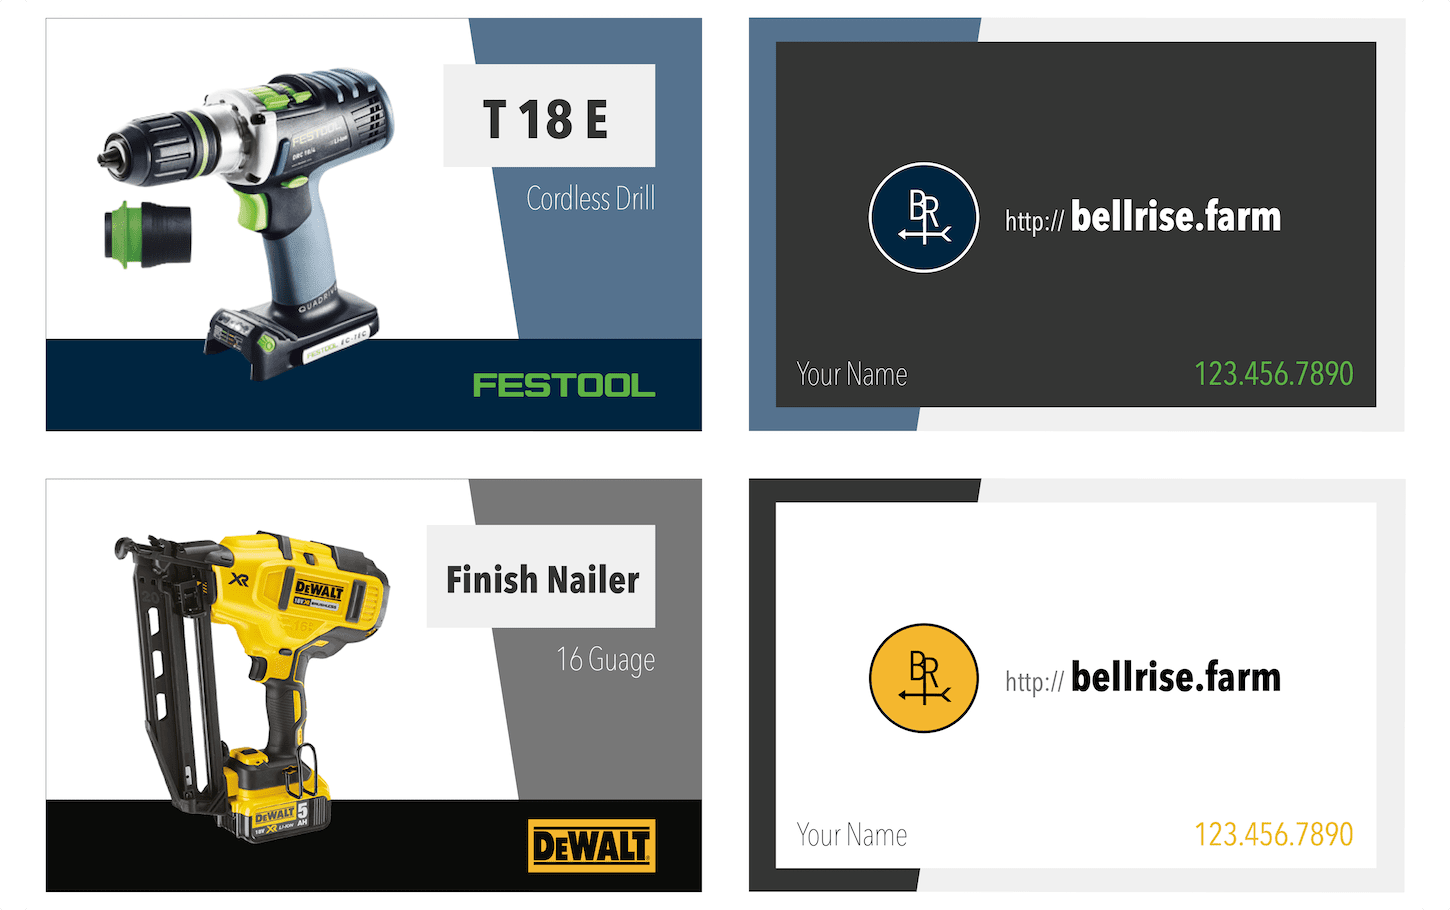
Different brands / cards.
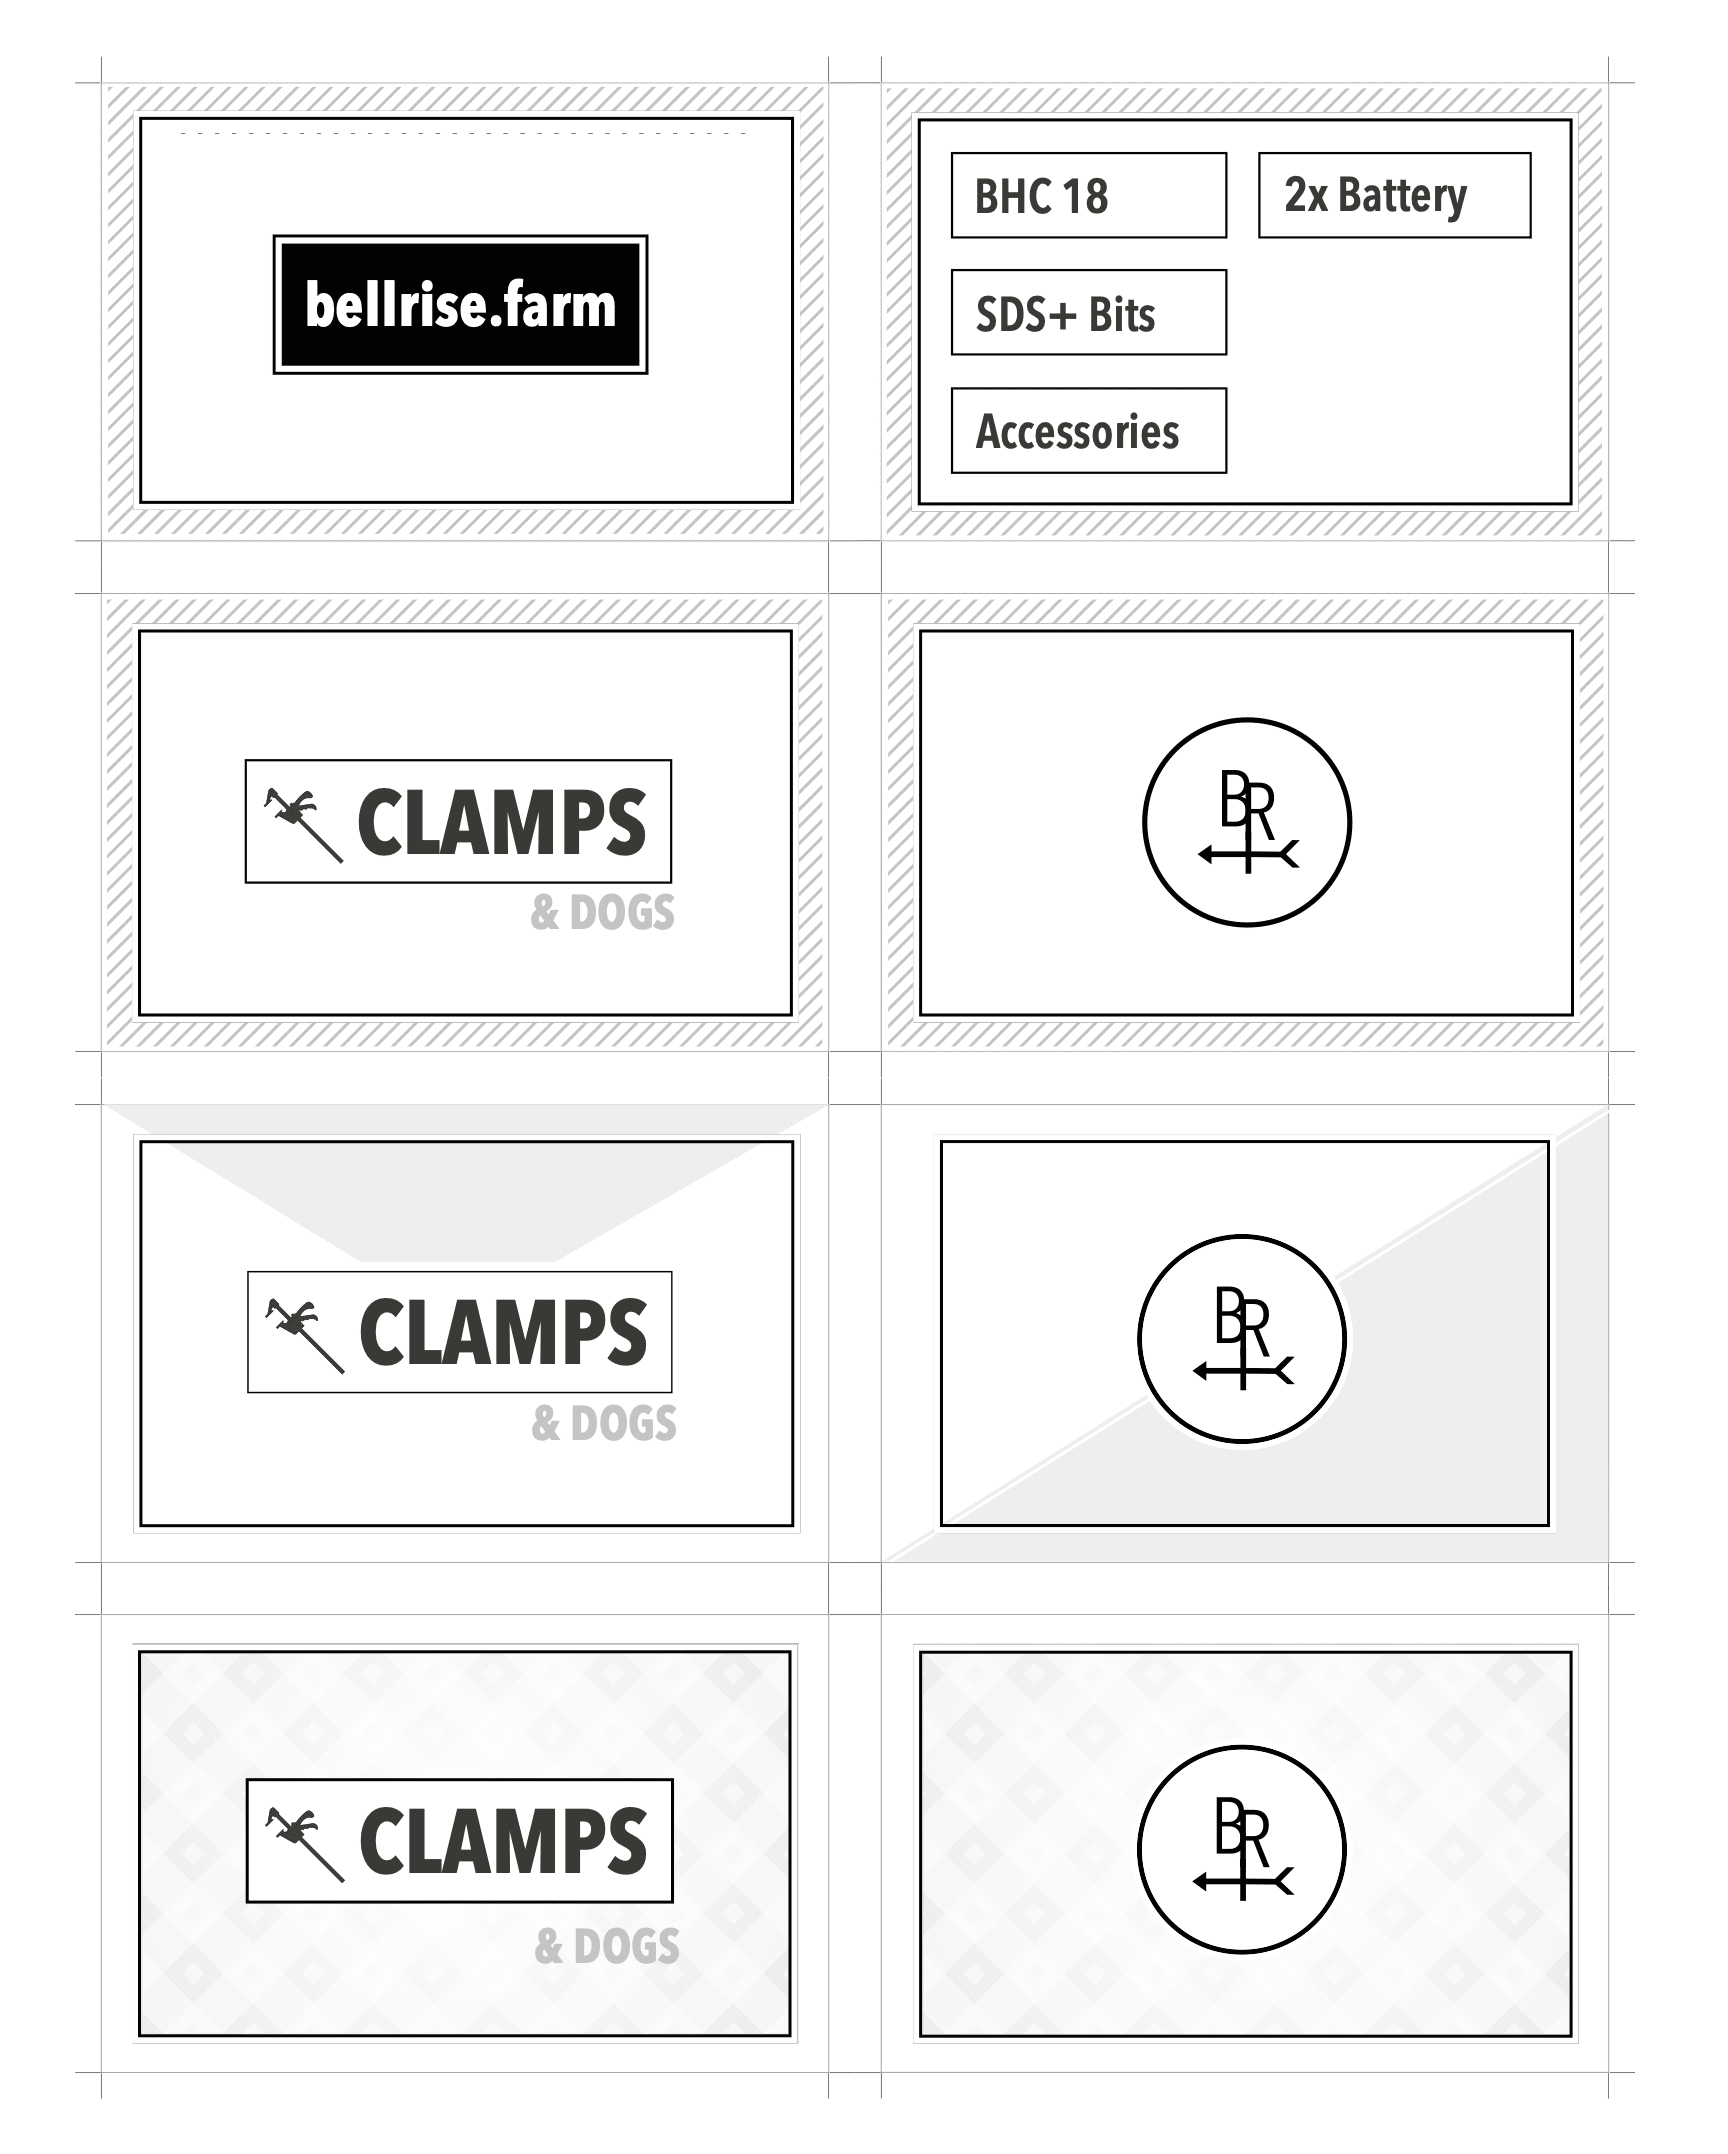
Multiple tools.
Looking at the cards above for awhile, I realized that too much focus is on the tool name and tool brand. What about my own company brand and personal identity?
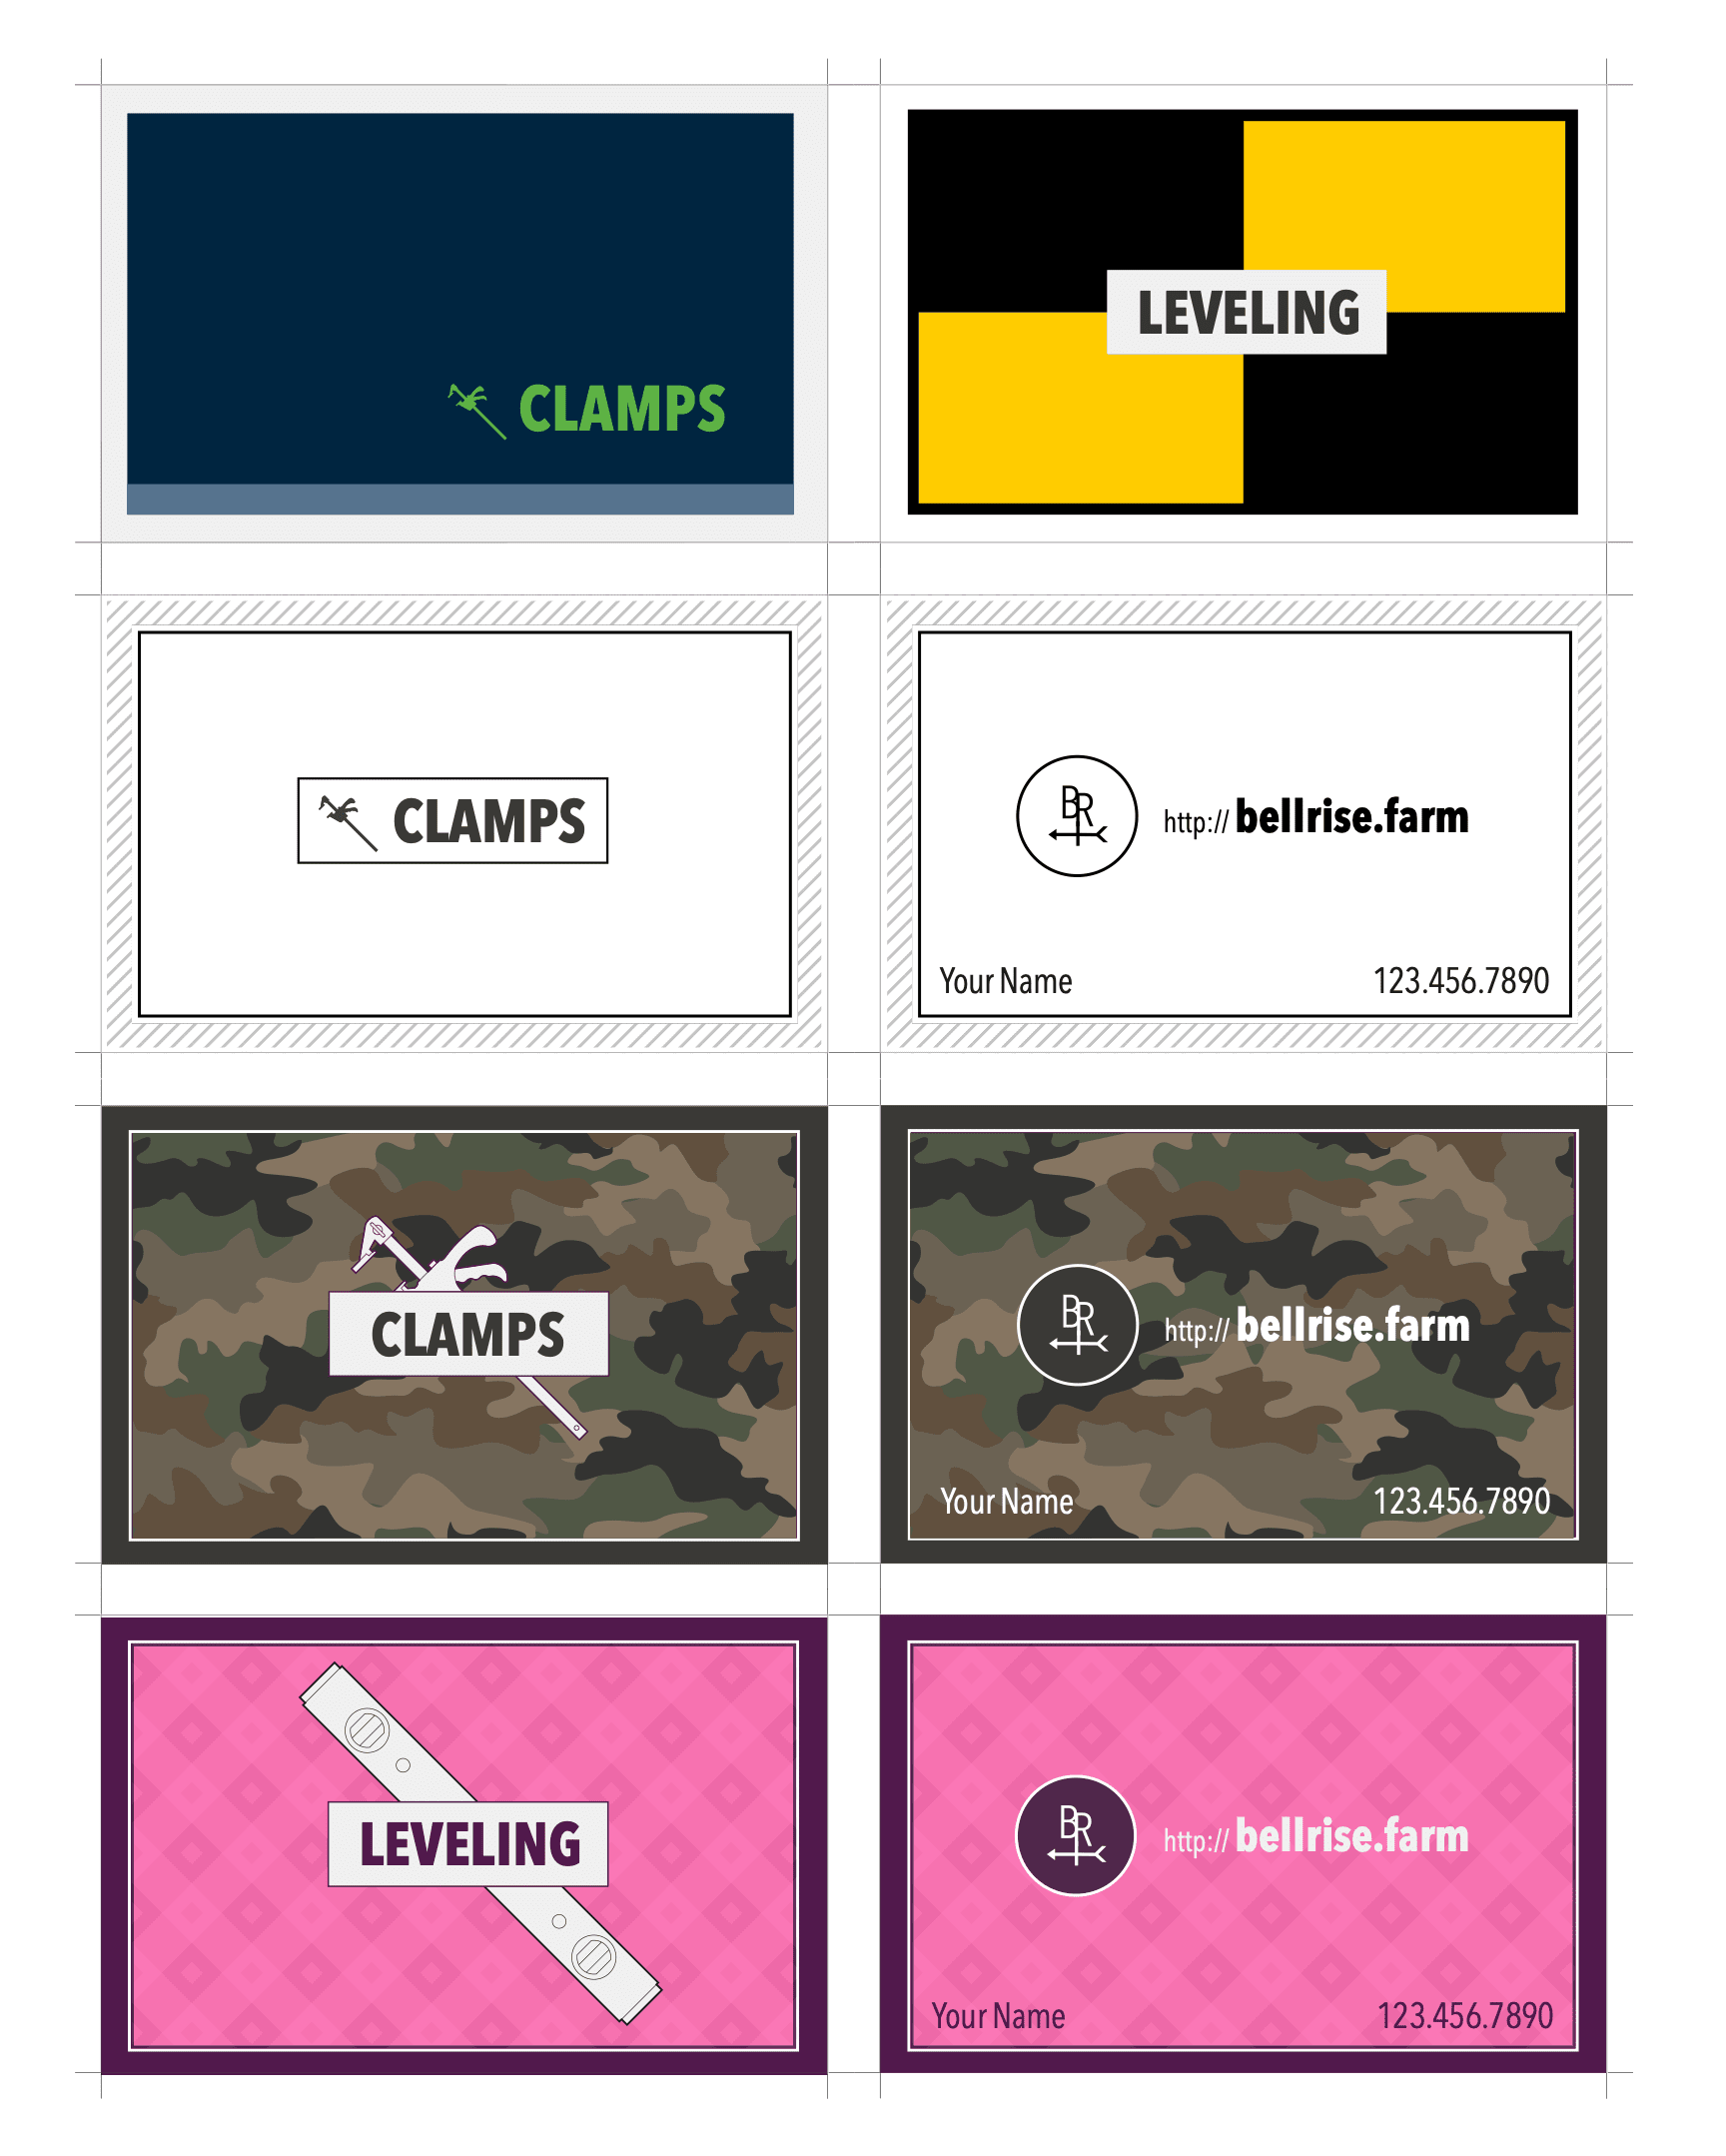
Personal brand.
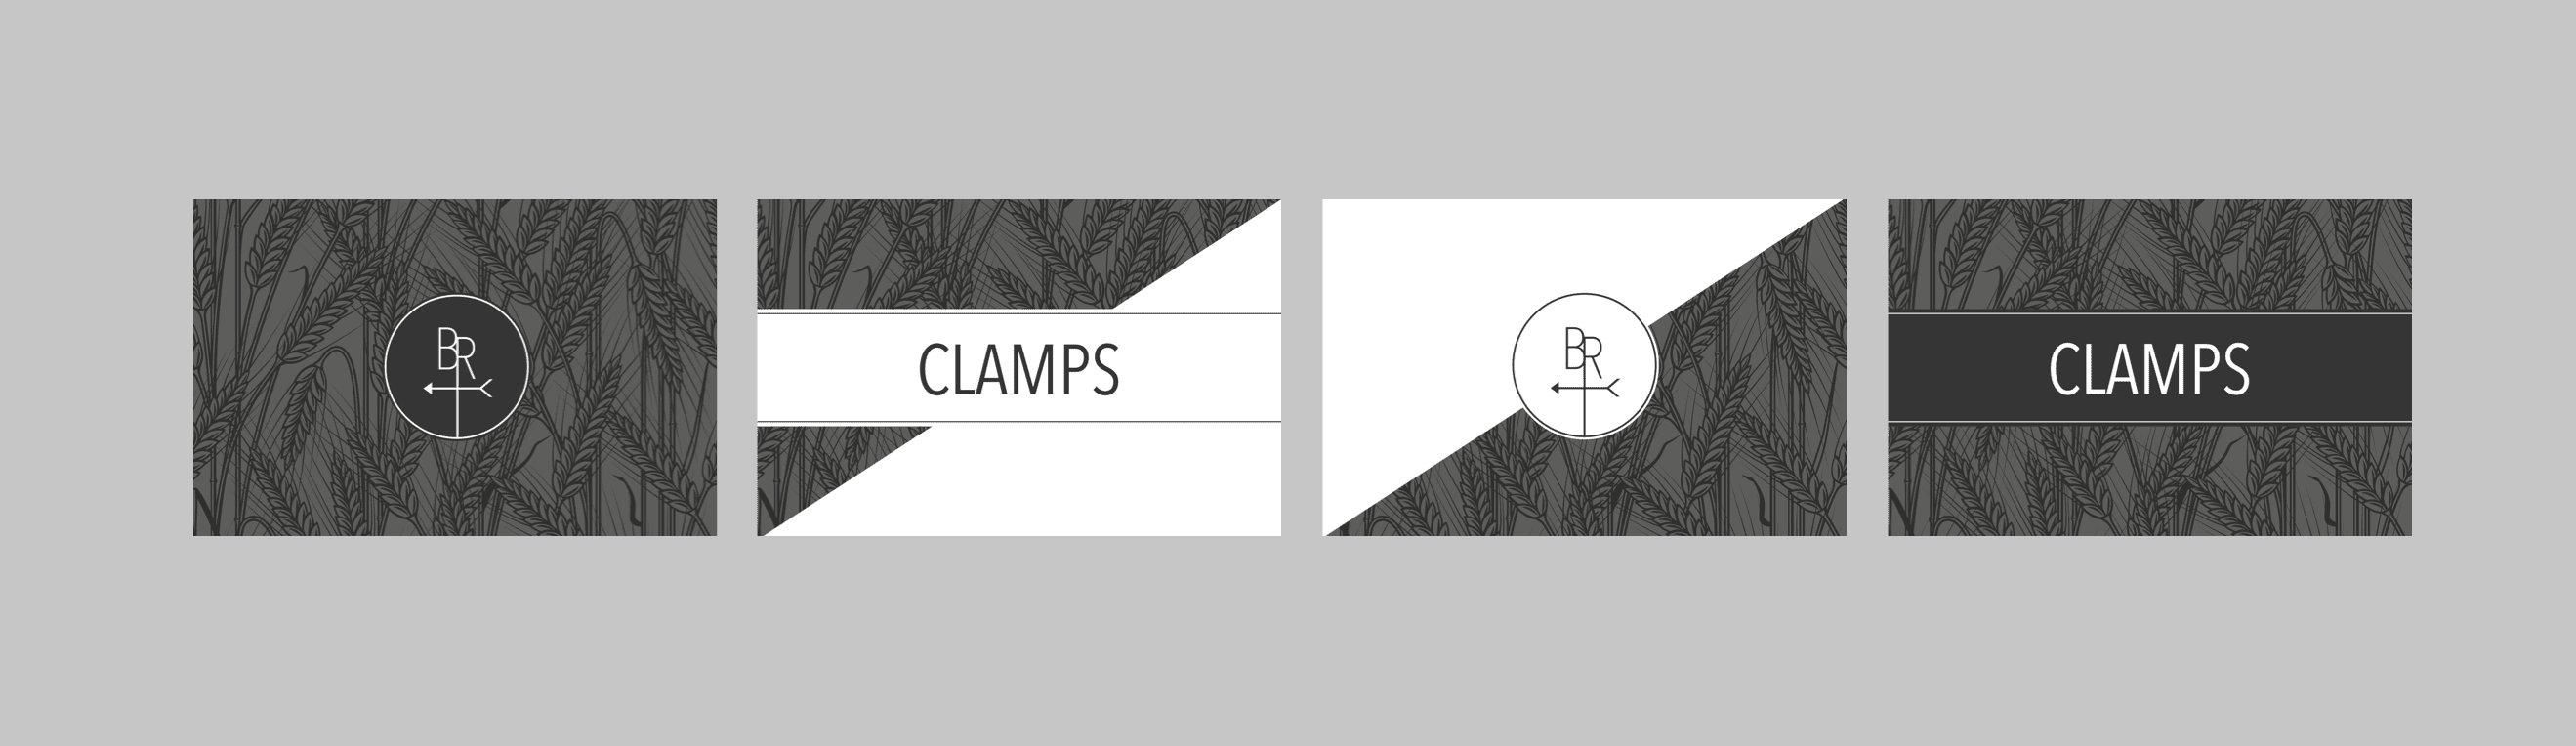
Variations.
Related Another use case to design for is first aid labels.
Design Considerations
As I played around with the design more, two things became apparent:
- A large font is necessary. I ended up with 34 pt font.
- I really only cared about my brand, and the tool category.
Those two considerations then turned the design into:
Wrap around design.
Pretty simple, right. The wrap around design adds a bit of interest, but other than that it is just simple words and a logo. In some cases, I’ll use the actual tool name if it is distinct (i.e.: Carvex). As for the brand, it just makes me feel good and keeps me motivated. You could just as easily pass on the brand labels.
Finally, I would consider designing edge to edge, which means that you’ll have to factor in printer bleed. This is a minor pain, but the end result looks better.
Printing Your Labels
Once you’ve got a design that you’re happy with, printing is next. There are two good options.
Important Save yourself time and money by testing on simple printer paper first.
Option 1: Print on PVC cards.
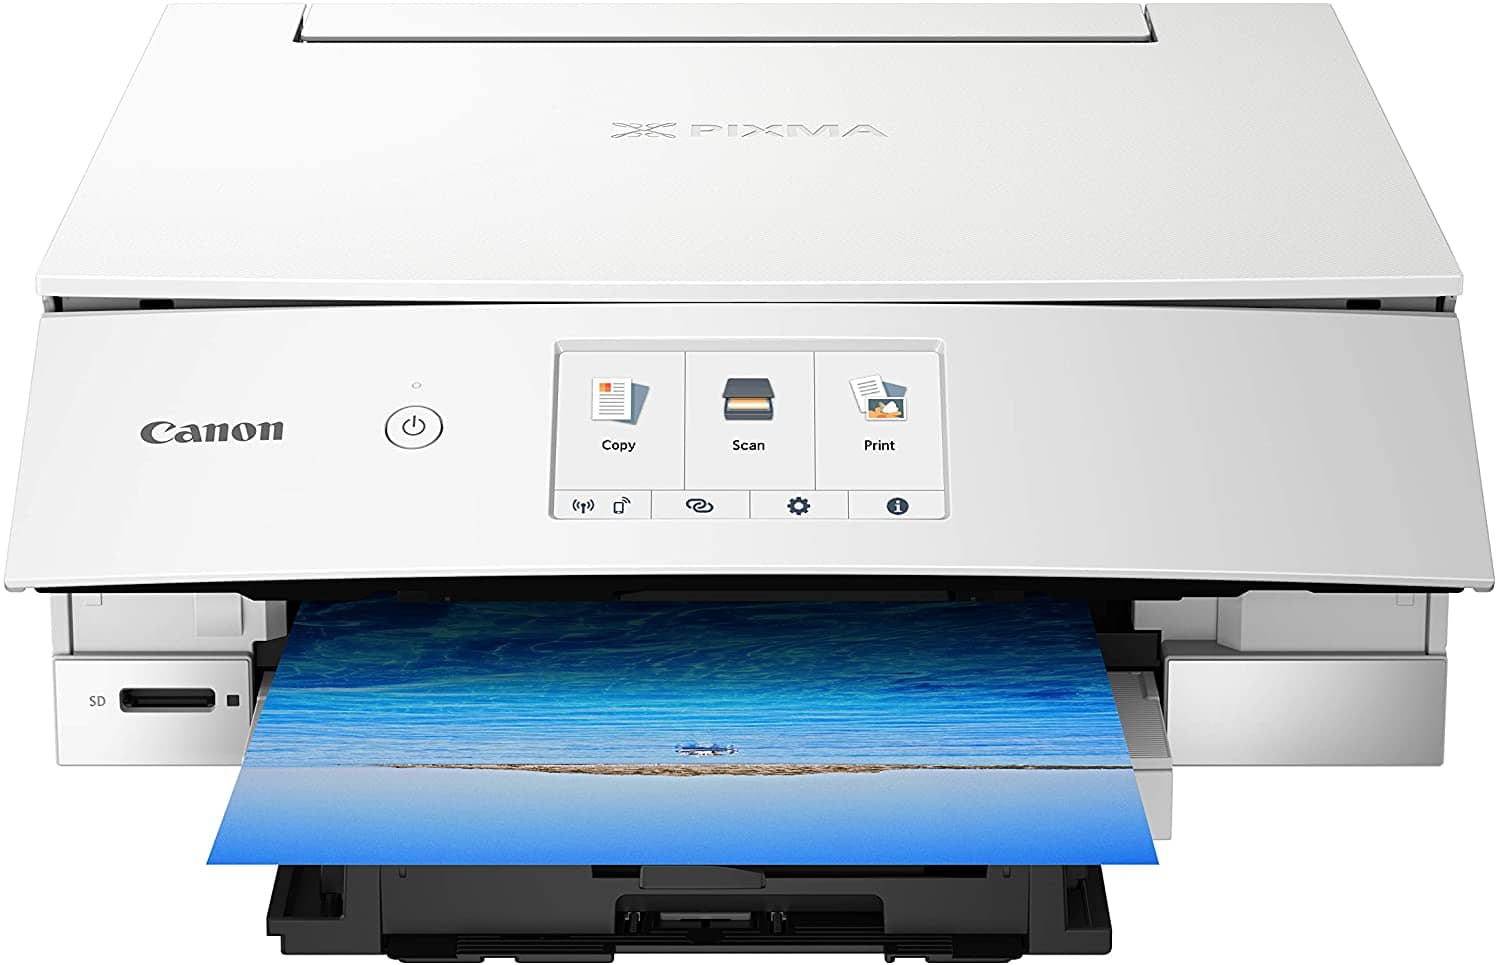
If you’re uncompromising, then printing on PVC cards is the option for you. The resolution, lack of glare, and perfect fit make this option the classiest. Toolguyd has an excellent write up on the idea. Essentially, BrainstormID sells printer trays that you can add to your home printer. I went with their recommendation and got the Canon TS8220. I’ve got no complaints after printing around 100 cards with bleed enabled.
Once you’ve got the printer and tray, use the layout tool to correctly format your PDF to print. Finally, place the Inkjet PVC Cards directly onto the tray, and enjoy top notch results.
note If you do go with printer bleed, or a design all of the way to the edges, make sure you take the time to clean the tray after each use.
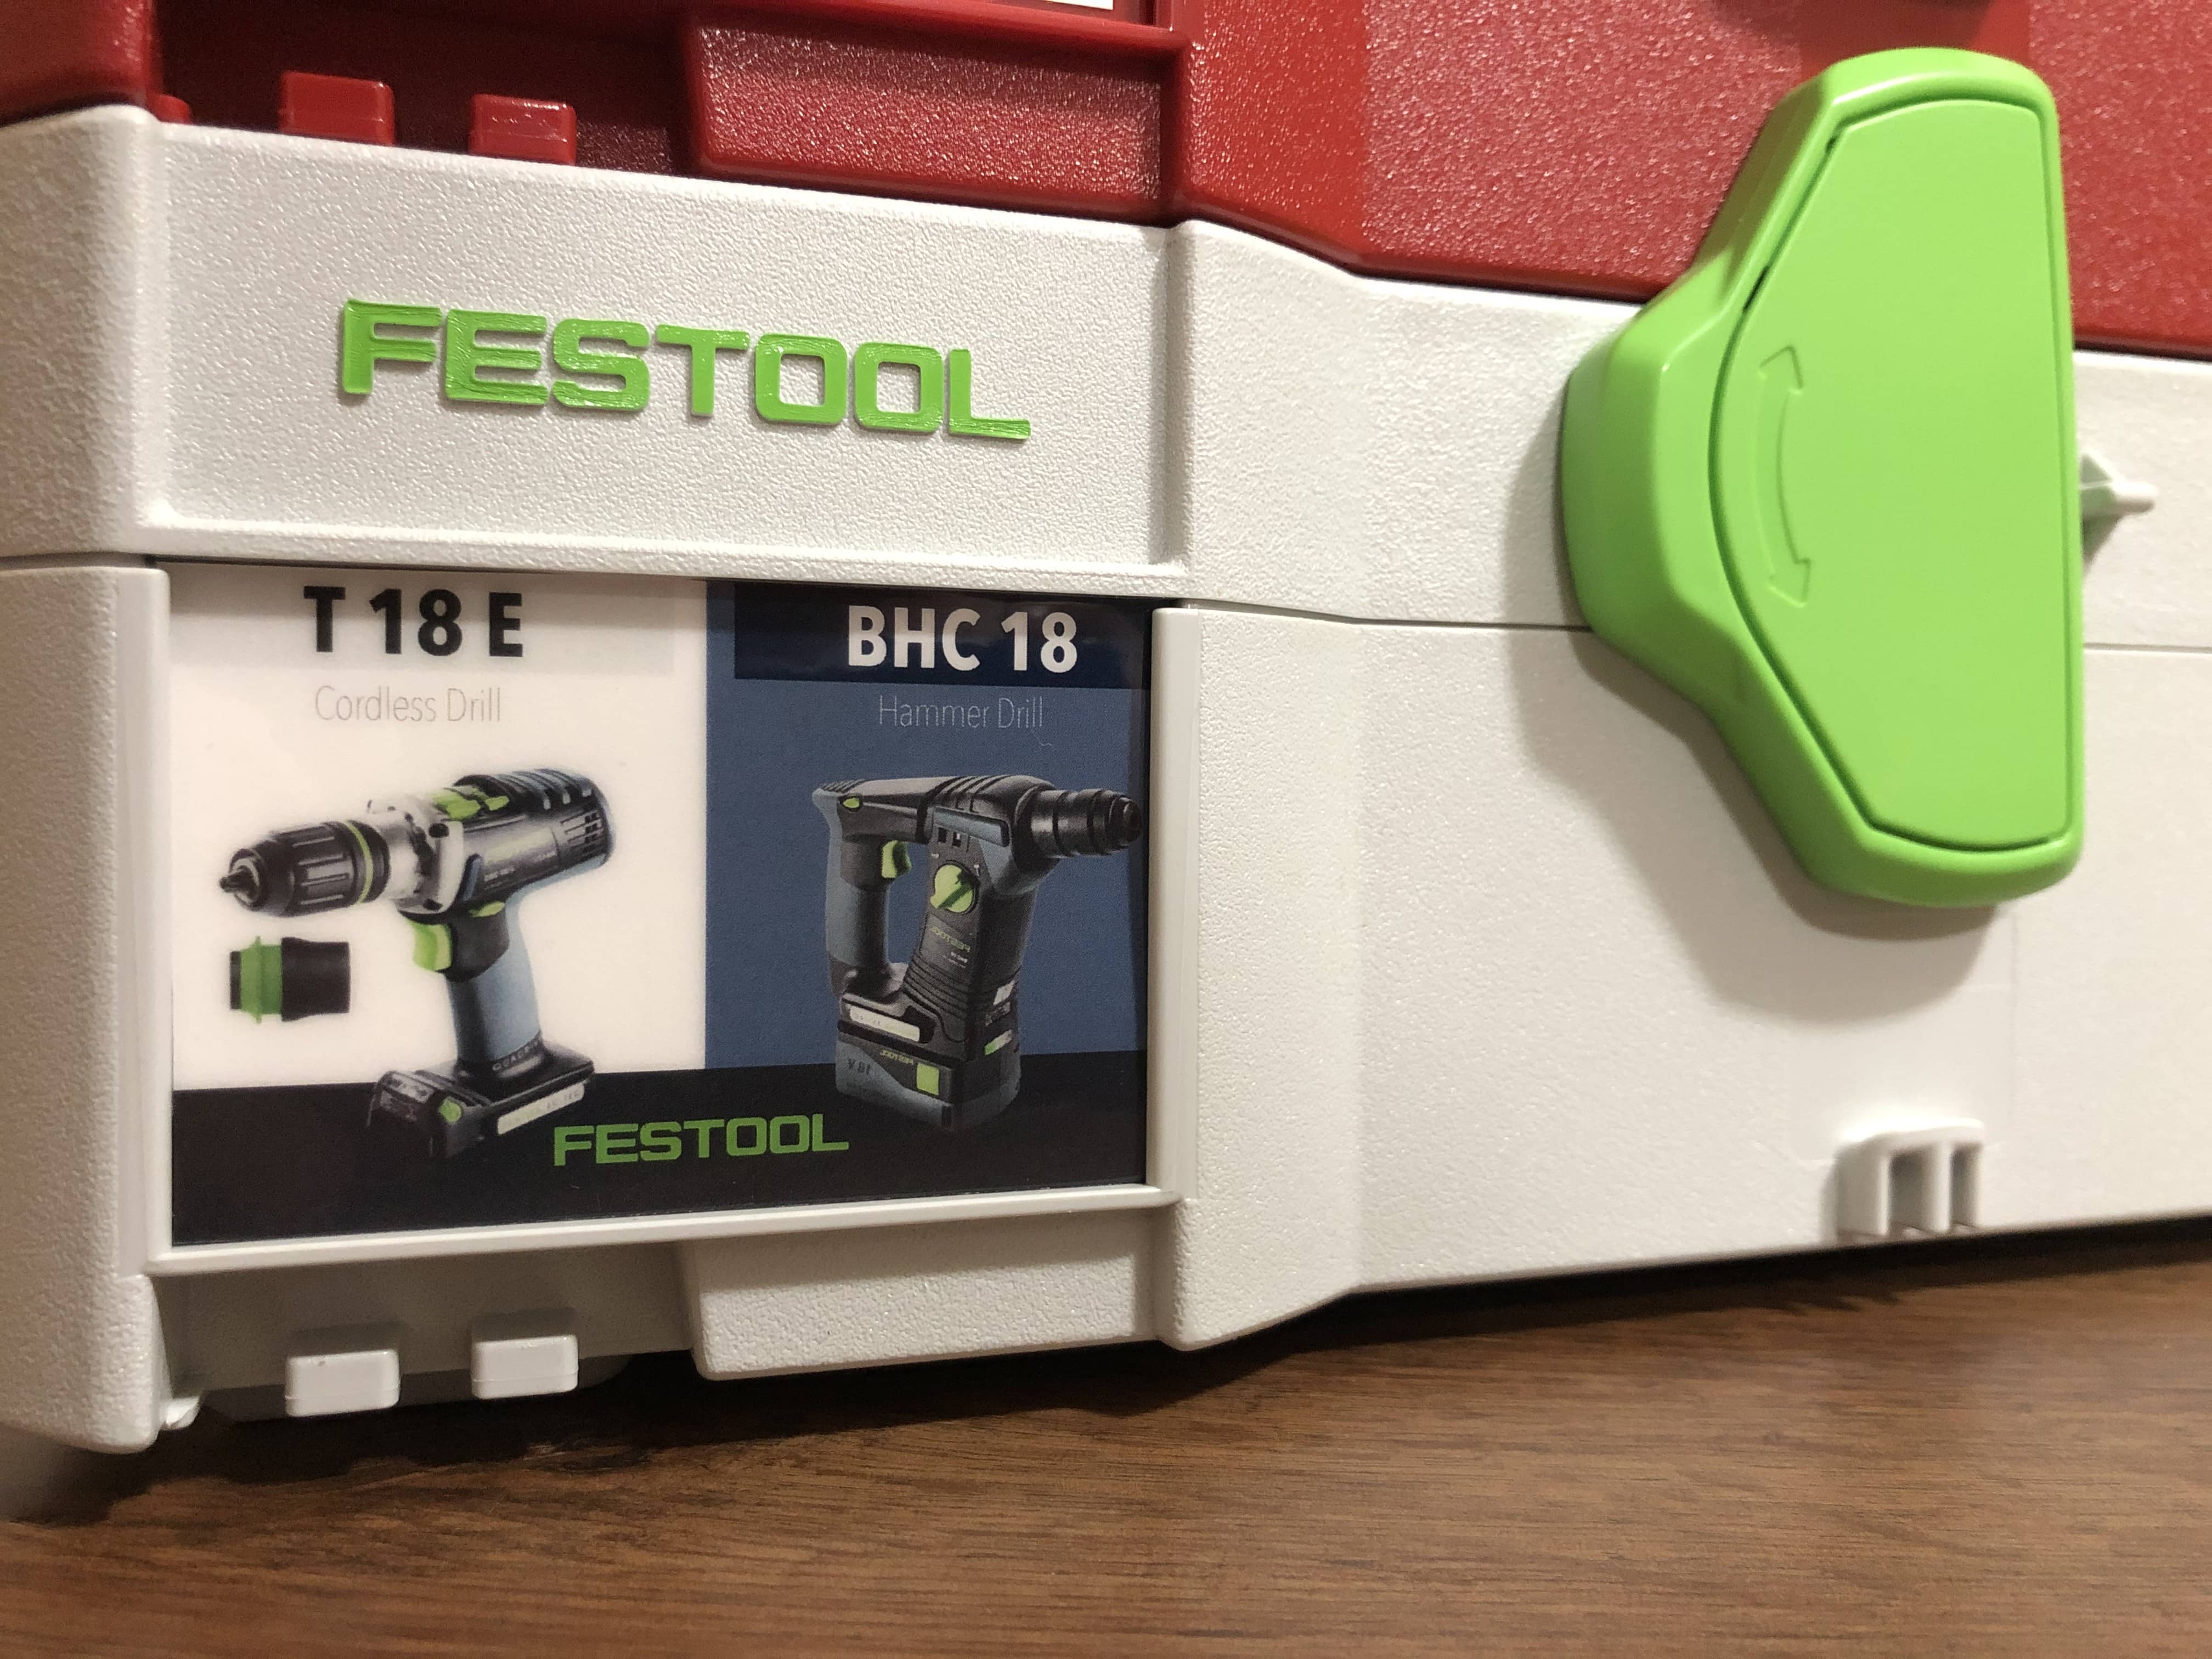
Check out the gallery to see what PVC cards look like.
Option 2: Print and laminate.
A laminated label.
The practical option is to print and laminate a sheet of 8 labels at a time from the local office store. This provides high quality, good color prints at a decent price. If you don’t have a PVC compatible printer, this option works well. Once printed, the labels are cut and inserted into the systainer slots. The extra thickness provided by the lamination makes sure that the labels stay put. This option looks almost as good as PVC cards, with the exception being that there is too much glare.
What file type should be printed?
A 300 DPI file will give the best results. Make sure that you consider the dimensions of the document when printing, as the image may scale when converted using online printing tools. I used FedEx Office, and selected: Document Printing -> Custom Project -> Keep file size -> 32lb paper -> Glossy lamination with no border. You may be able to find a slightly better option, which would put print and laminate on par with PVC cards.
Option 3: There is no Option 3.
I was optimistic about the Festool Label Covers, but they really impact legibility. Similarly, there is a Tanos Labeling Set that tries to make this easy, but the reviews mention problems with the document sizing. As a last resort, I also tried Avery Laminating Sheets over a printed photo. This worked, but self laminating resulted in too many bumps and took more time.
Mini Systainers
On a roll, I decided to move on to my mini systainers. Easy, right? Well, it turns out that they do not have slots for cards to slide down into. BrainstormID does sell sticky PVC cards, but I don’t know how long those will hold up. I plan to get a few, and I’ll report back.
Gallery
Here are a few more pictures from a general work environment so that you can judge if custom labels are worth your time.

Close up.
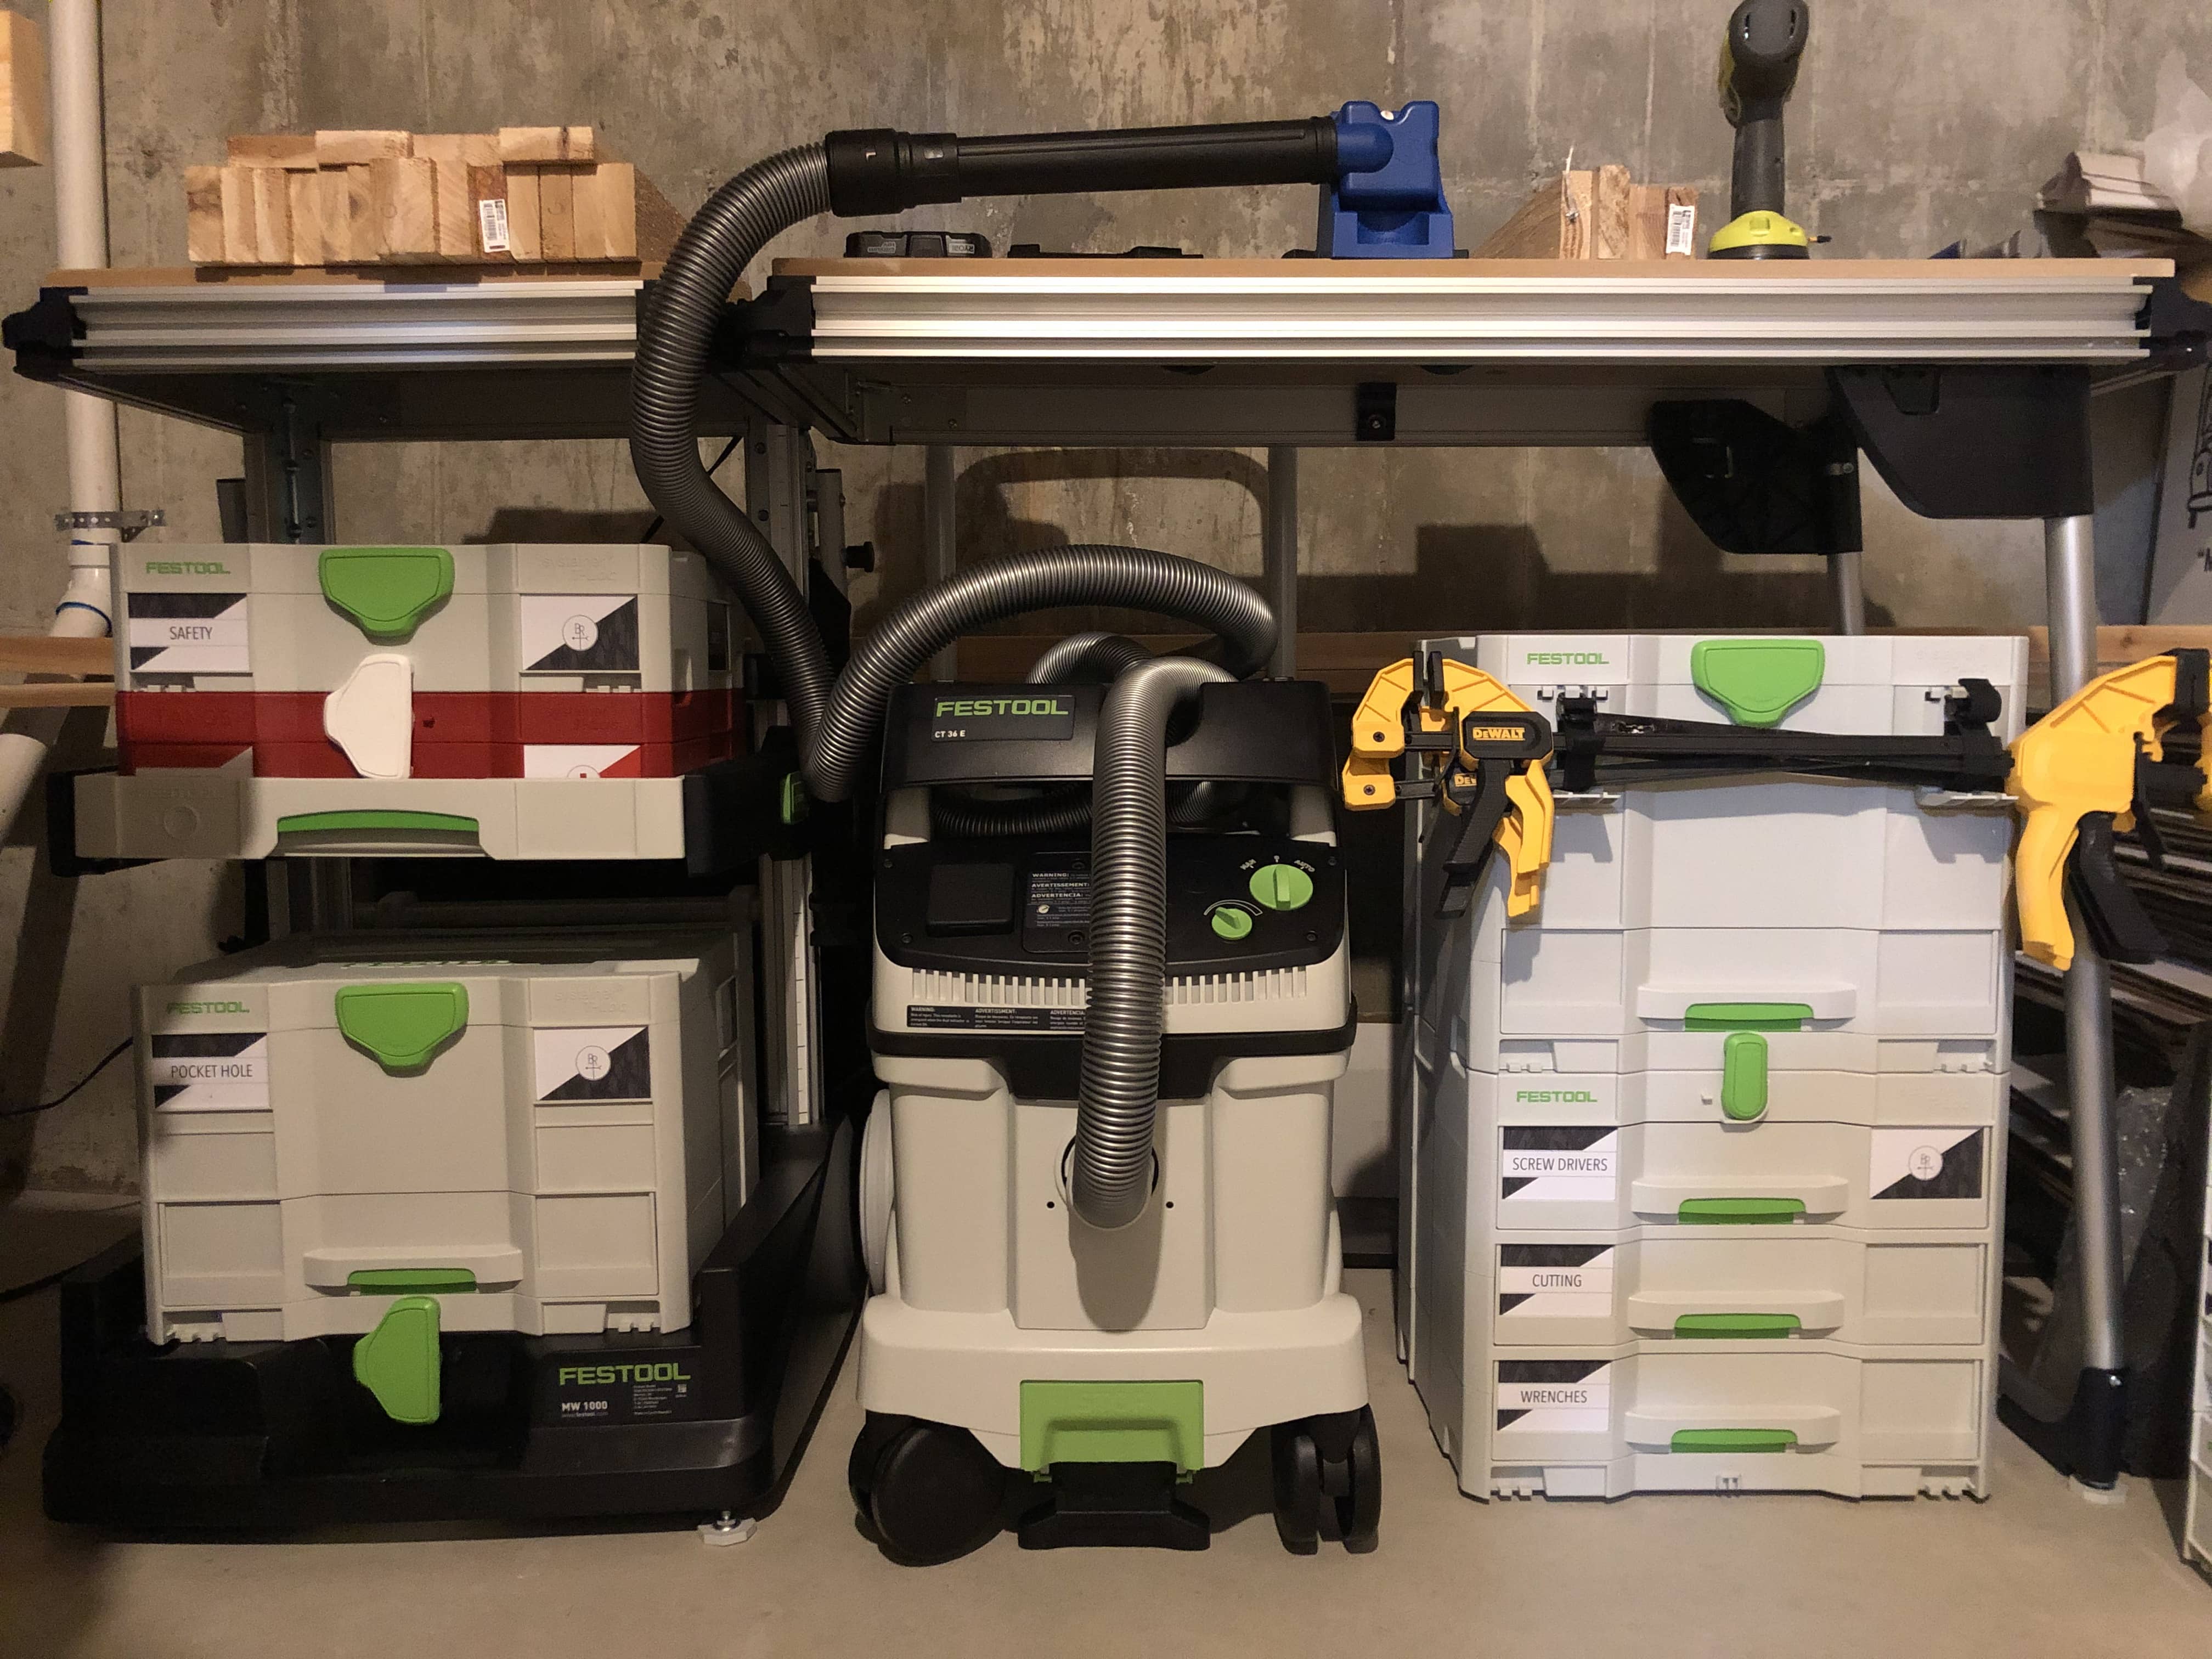
Work set up.

Different colors.
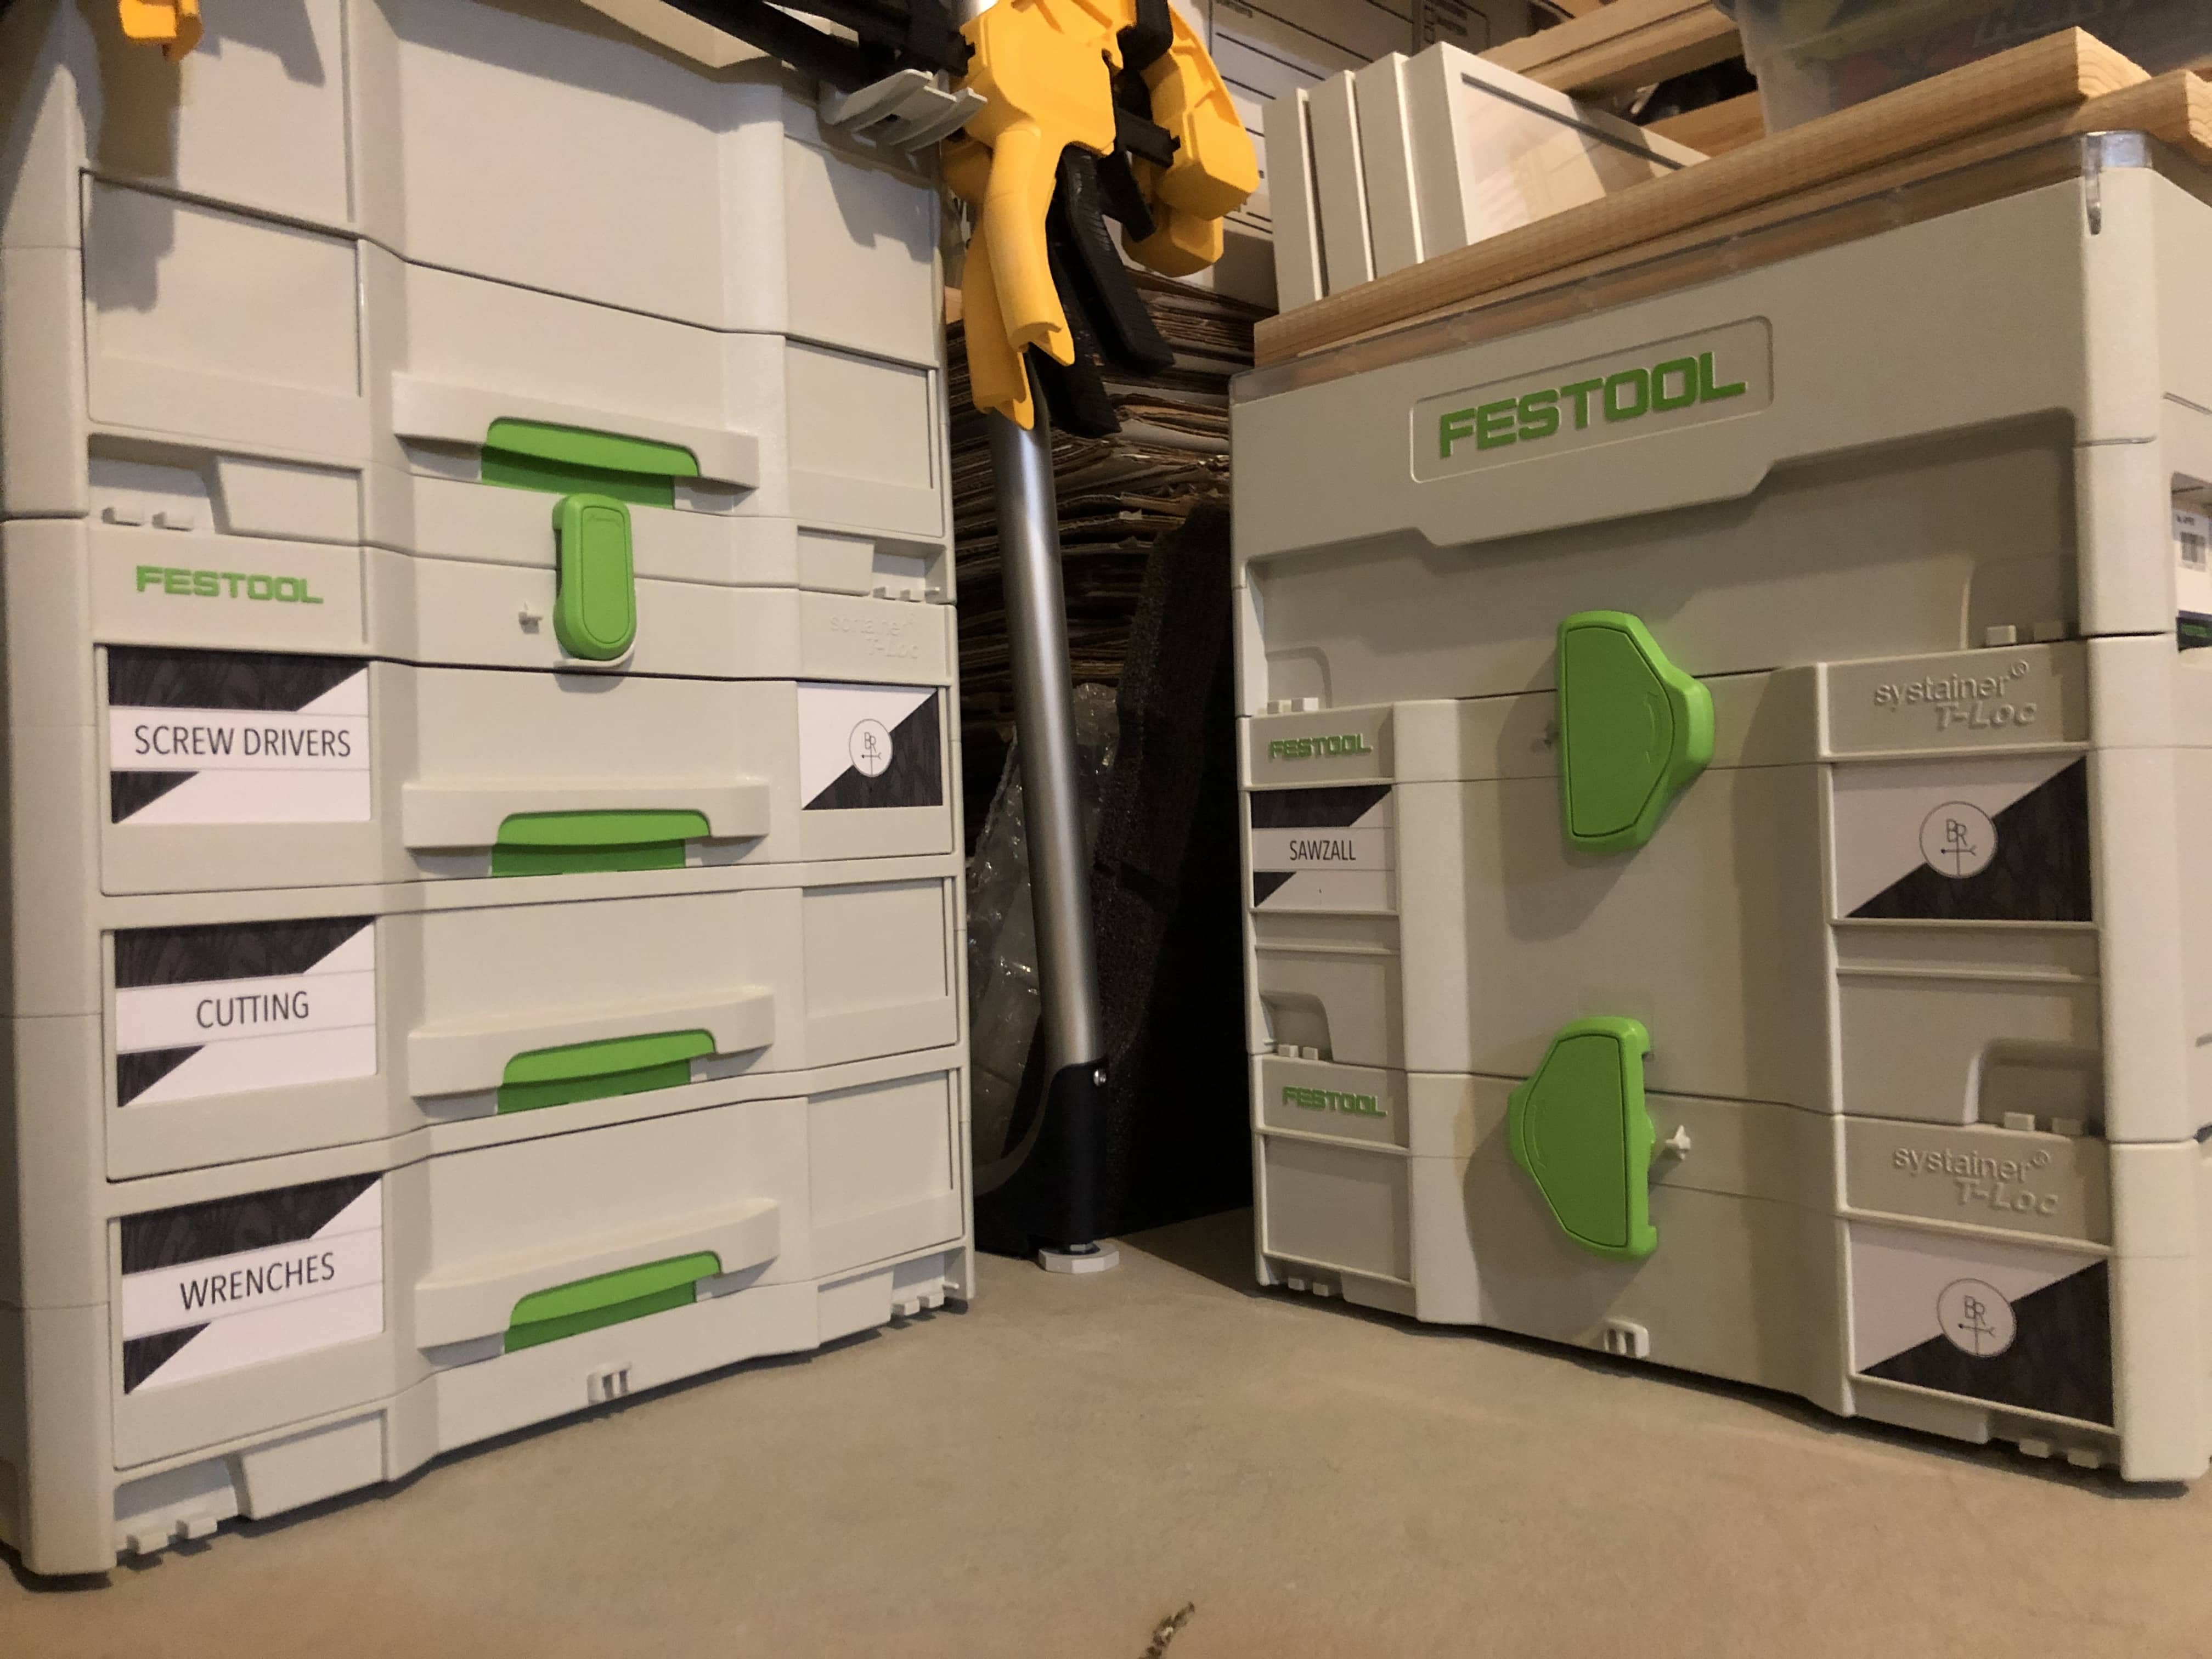
On a sortainer.