When thinking about the ideal home server room, it helps to have actual experience with as many of the tools as possible. So, I thought it would be good to try out Pi-hole and Homebridge running on Raspberry Pi’s in our current home to see how they hold up over the next year. Initial experiences show that Pi-hole and Homebridge are everything they claim to be – set and forget once you’ve gone through the smooth setup process. However, IP cameras through Homebridge will require some more love and testing. They are quite complicated to setup, and perform quite poorly so far.
UpdateWe just configured AlarmDecoder with Homebridge as well. Read more, or carry on with Pi-hole below.
What To Buy
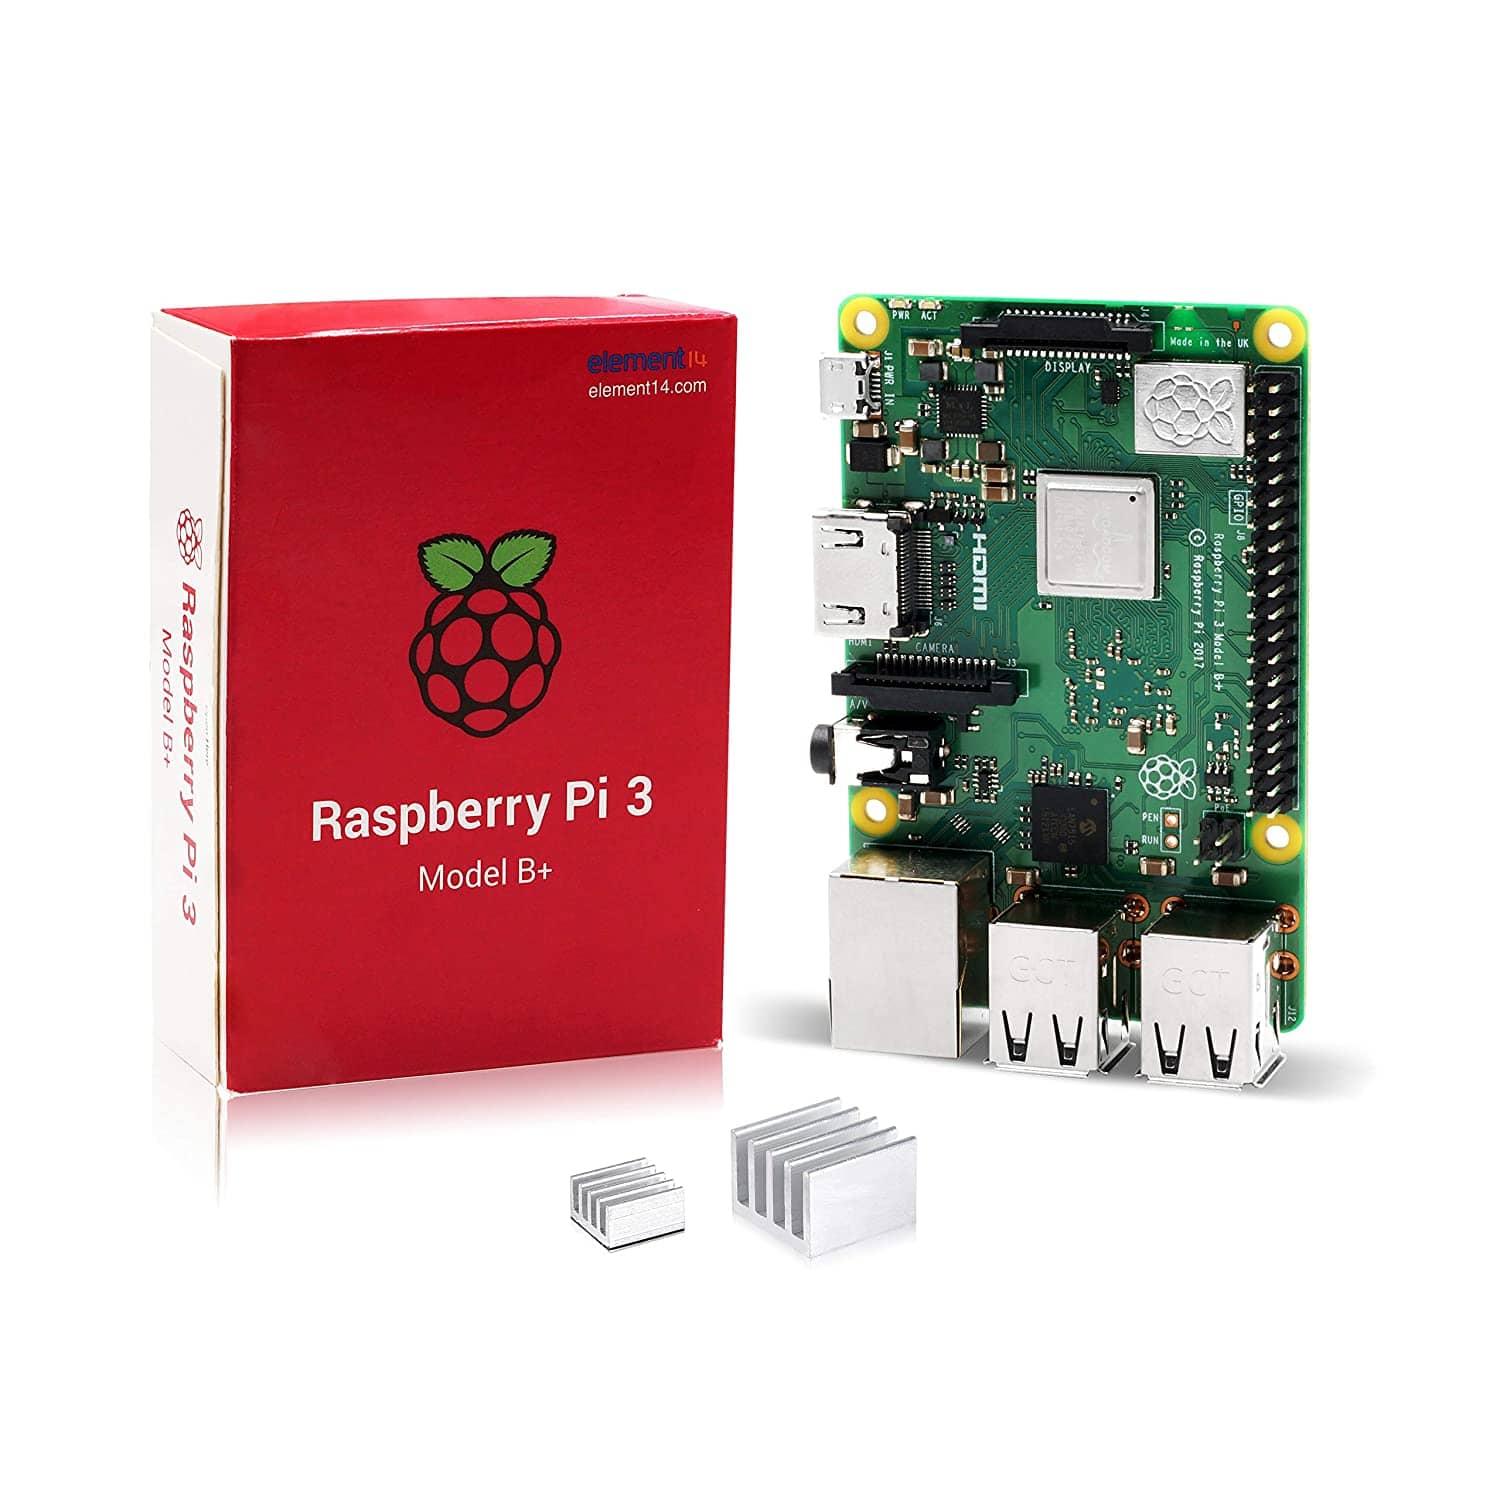
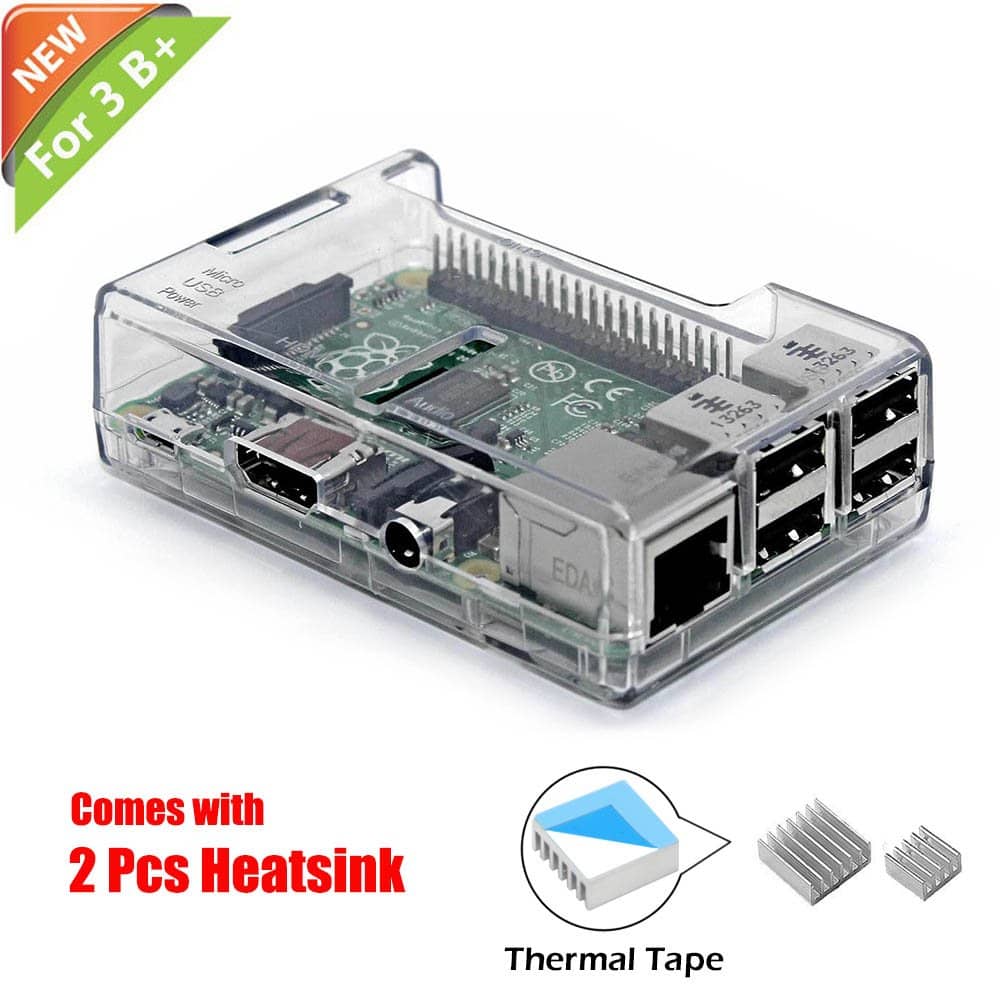
To get started I bought:
We earn a small commission from purchases made through links on our site. Learn More
So, $67 if you need everything, and $59 if you already have a Micro SD card. You’ll also need an Ethernet cable. There are also cheaper power supplies, but I’ve read mixed reviews.
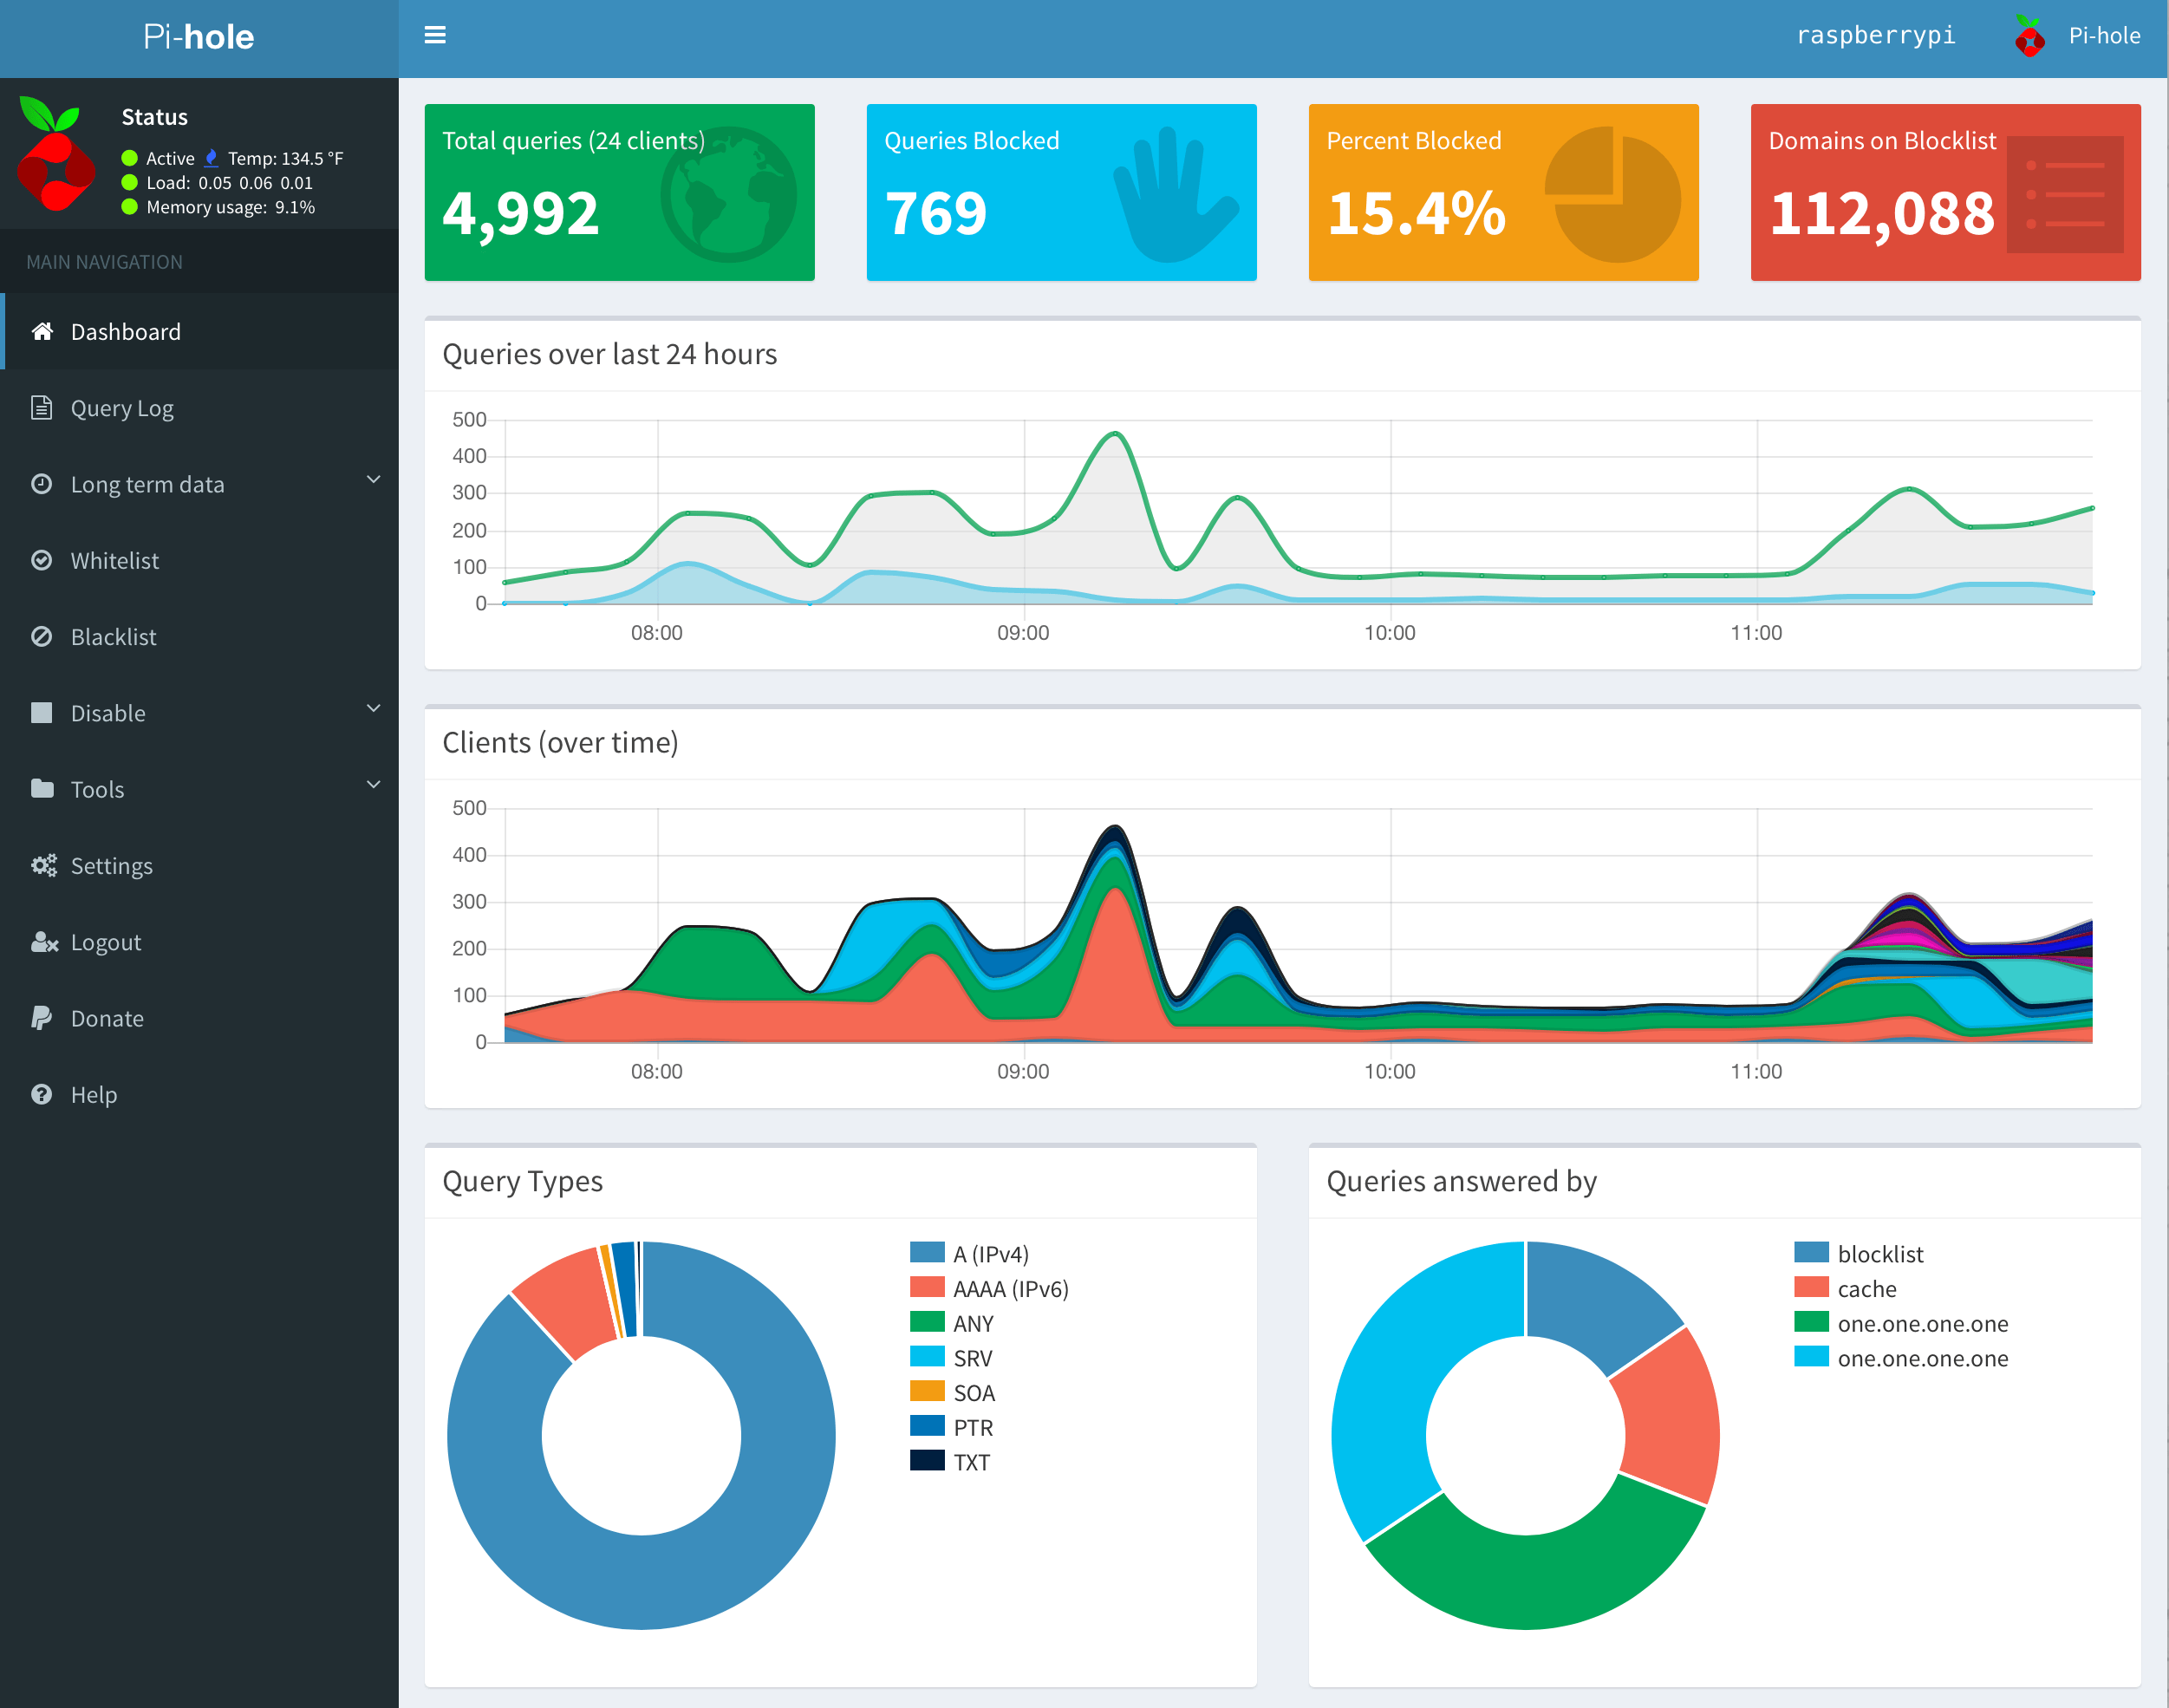
Pi-hole

Pi-hole and Homebridge
First, lets briefly talk about what’s going to happen. By designating Pi-hole the DNS server for the local network, all traffic will go through Pi-hole before going to an actual DNS server. This will allow Pi-hole to block any request that match the blacklist filter. To set this up, we’ll:
- Format the MicroSD card as FAT, and install Raspian OS
- Connect Ethernet from Raspberry Pi to Router or Switch
- SSH into PI and install Pi-hole
- Point router DNS to Raspberry Pi IP address.
Update You can now download an official formatter to make the first step easy.
This process went surprisingly smooth, and only took me about an hour as a first timer. Simply follow this tutorial. Scott Helme then details his initial setup which shows how to set the network wide DNS server in a Unifi network. He also details forced DNS for devices that aren’t doing what they’re told.
Finally, I just had to add a whitelist for common functionality that the family and guests expect. You can bulk add to the white list section by copy and pasting this file into the admin whitelist text box.
note This all went super smoothly on a Unifi network, but I ran into problems using a TP Link Archer router. Trying to set Pi-hole as the DNS server would throw errors that the LAN and DNS server cannot be on the same subnet. To fix this, I turned off the DHCP server on the router, and used Pi-hole as my DHCP server.
Homebridge
With new found confidence, I jumped straight in to Homebridge. This took a bit longer than Pi-hole to set up, but it wasn’t bad. This tutorial for Running Homebridge on a Raspberry Pi worked best for me. However, keep the tutorial above from Pukit handy as it provides more depth in case you get stuck.
Aside from the main install, the only other hurdle was learning to use Nano, the command line text editor. The Beginner’s Guide is a good starting point. Also, these two commands to get started on editing:
To get in to the Homebridge directory:
cd ~/.homebridge
To edit the config file. Make sure you touch config.json to create the file for the first time.
nano config.json
The config file is where your settings for your integrations will go (i.e: Wemo integration). Once integrations have been added and the config file is set, simply type homebridge to start running it.
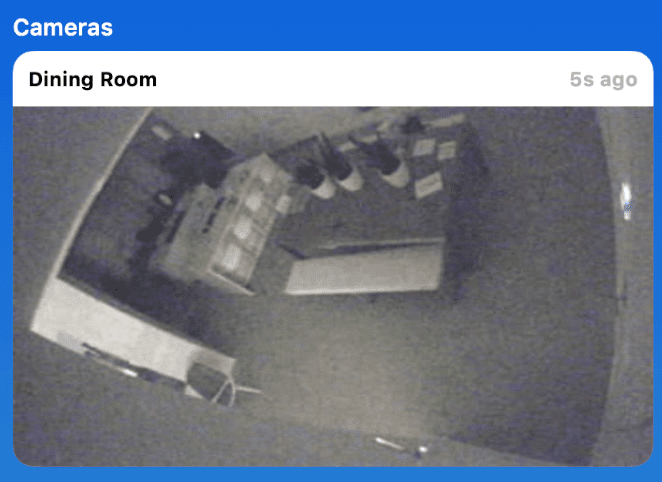
IP Cameras on Homebridge
My primary use case for Homebridge was to get all of my different cameras into one UI, and have them respond to events. Unfortunately, this hasn’t worked out too well so far. I think it is because the Pi is too underpowered, but I still have more tinkering to do. Anyway, setup is a bit tricky too.
IP Camera
Let’s start with Nest cameras or Dropcams. The important part is to use Homebridge Nest Cam and not Homebridge Nest since the latter only supports motion sensing on the cameras. That’s super important since it meas you don’t have to go through the process of setting up API keys for Nest to get your access key. Instead, just make a curl request from a mobile device (or mobile device header) as shown in the docs. Note: I had to run this request in a new terminal window, and not from within the Raspberry Pi.
With access key in hand, you can modify the config file and you’re ready to go. Just make sure the access key looks like b.123XZY and not c.456ABC. This is also a good time to dust off JSONLint since it is easy to screw up the formatting of the config file.
Now, perhaps a bit trickier, are actual IP cameras. Using Homebridge Camera FFMPEG, you can point to your cameras in the config file. The hard part is knowing where to point, which takes some trial and error. I have Speco cameras, so I had to look up their paths in the iSpyConnect docs. After that, I played with a few configs found in the sample config files to see which would work.
I’ve included the final working config below for reference. As of now, everything works, but the streams are delayed and/or laggy. I’ll update this if I find a work around. Also, if you’re wondering about -re, -i, and other commands found, see the reference page.
{
   "bridge":{
      "name":"Homebridge",
      "username":"11:22:33:44:55:66",
      "port":51826,
      "pin":"123-45-678"
   },
   "accessories":[],
   "platforms":[
      {
         "platform":"Nest-cam",
         "access_token":"b.1234XYZ....",
         "ffmpegCodec":"libx264"
      },
      {
         "platform":"Camera-ffmpeg",
         "cameras":[
            {
               "name":"Dining Room",
               "videoConfig":{
                  "source":"-i rtsp://[user]:[pass]@192.168.1.[CameraIP]/Streaming/Channels/1",
                  "stillImageSource":"-i http://[user]:[pass]@192.168.1.[CameraIP]/stillimg.jpg",
                  "maxStreams":2,
                  "maxWidth":1280,
                  "maxHeight":720,
                  "maxFPS":10
               }
            }
         ]
      }
   ]
}