We earn a commission from purchases made through links on our site. Please support us.
When considering the wires that will need to run through the house, it’s helpful to envision the dream end product. A rough image of that dream homelab is outlined in this post. However, before proceeding, keep two things in mind. First, I’m not a network engineer, so it’s important not to blindly follow my directions. Second, much of this may be considered overkill and can be built up gradually. This project is as much a hobby as it is practical, so I eventually plan to assess the equipment I already have and explore different setups with cost in mind.
Update December 2023: A casual tour of my homelab / smart home is in video above. Technical details are in this post. It’s amazing how much can change in just three years. I’ve updated the post below while preserving some of the original references.
For starters, let’s take a look at how I envisioned the initial rack back in 2019:
Homelab as I imagined it in 2019.
Now, let’s break it down by category.
Networking
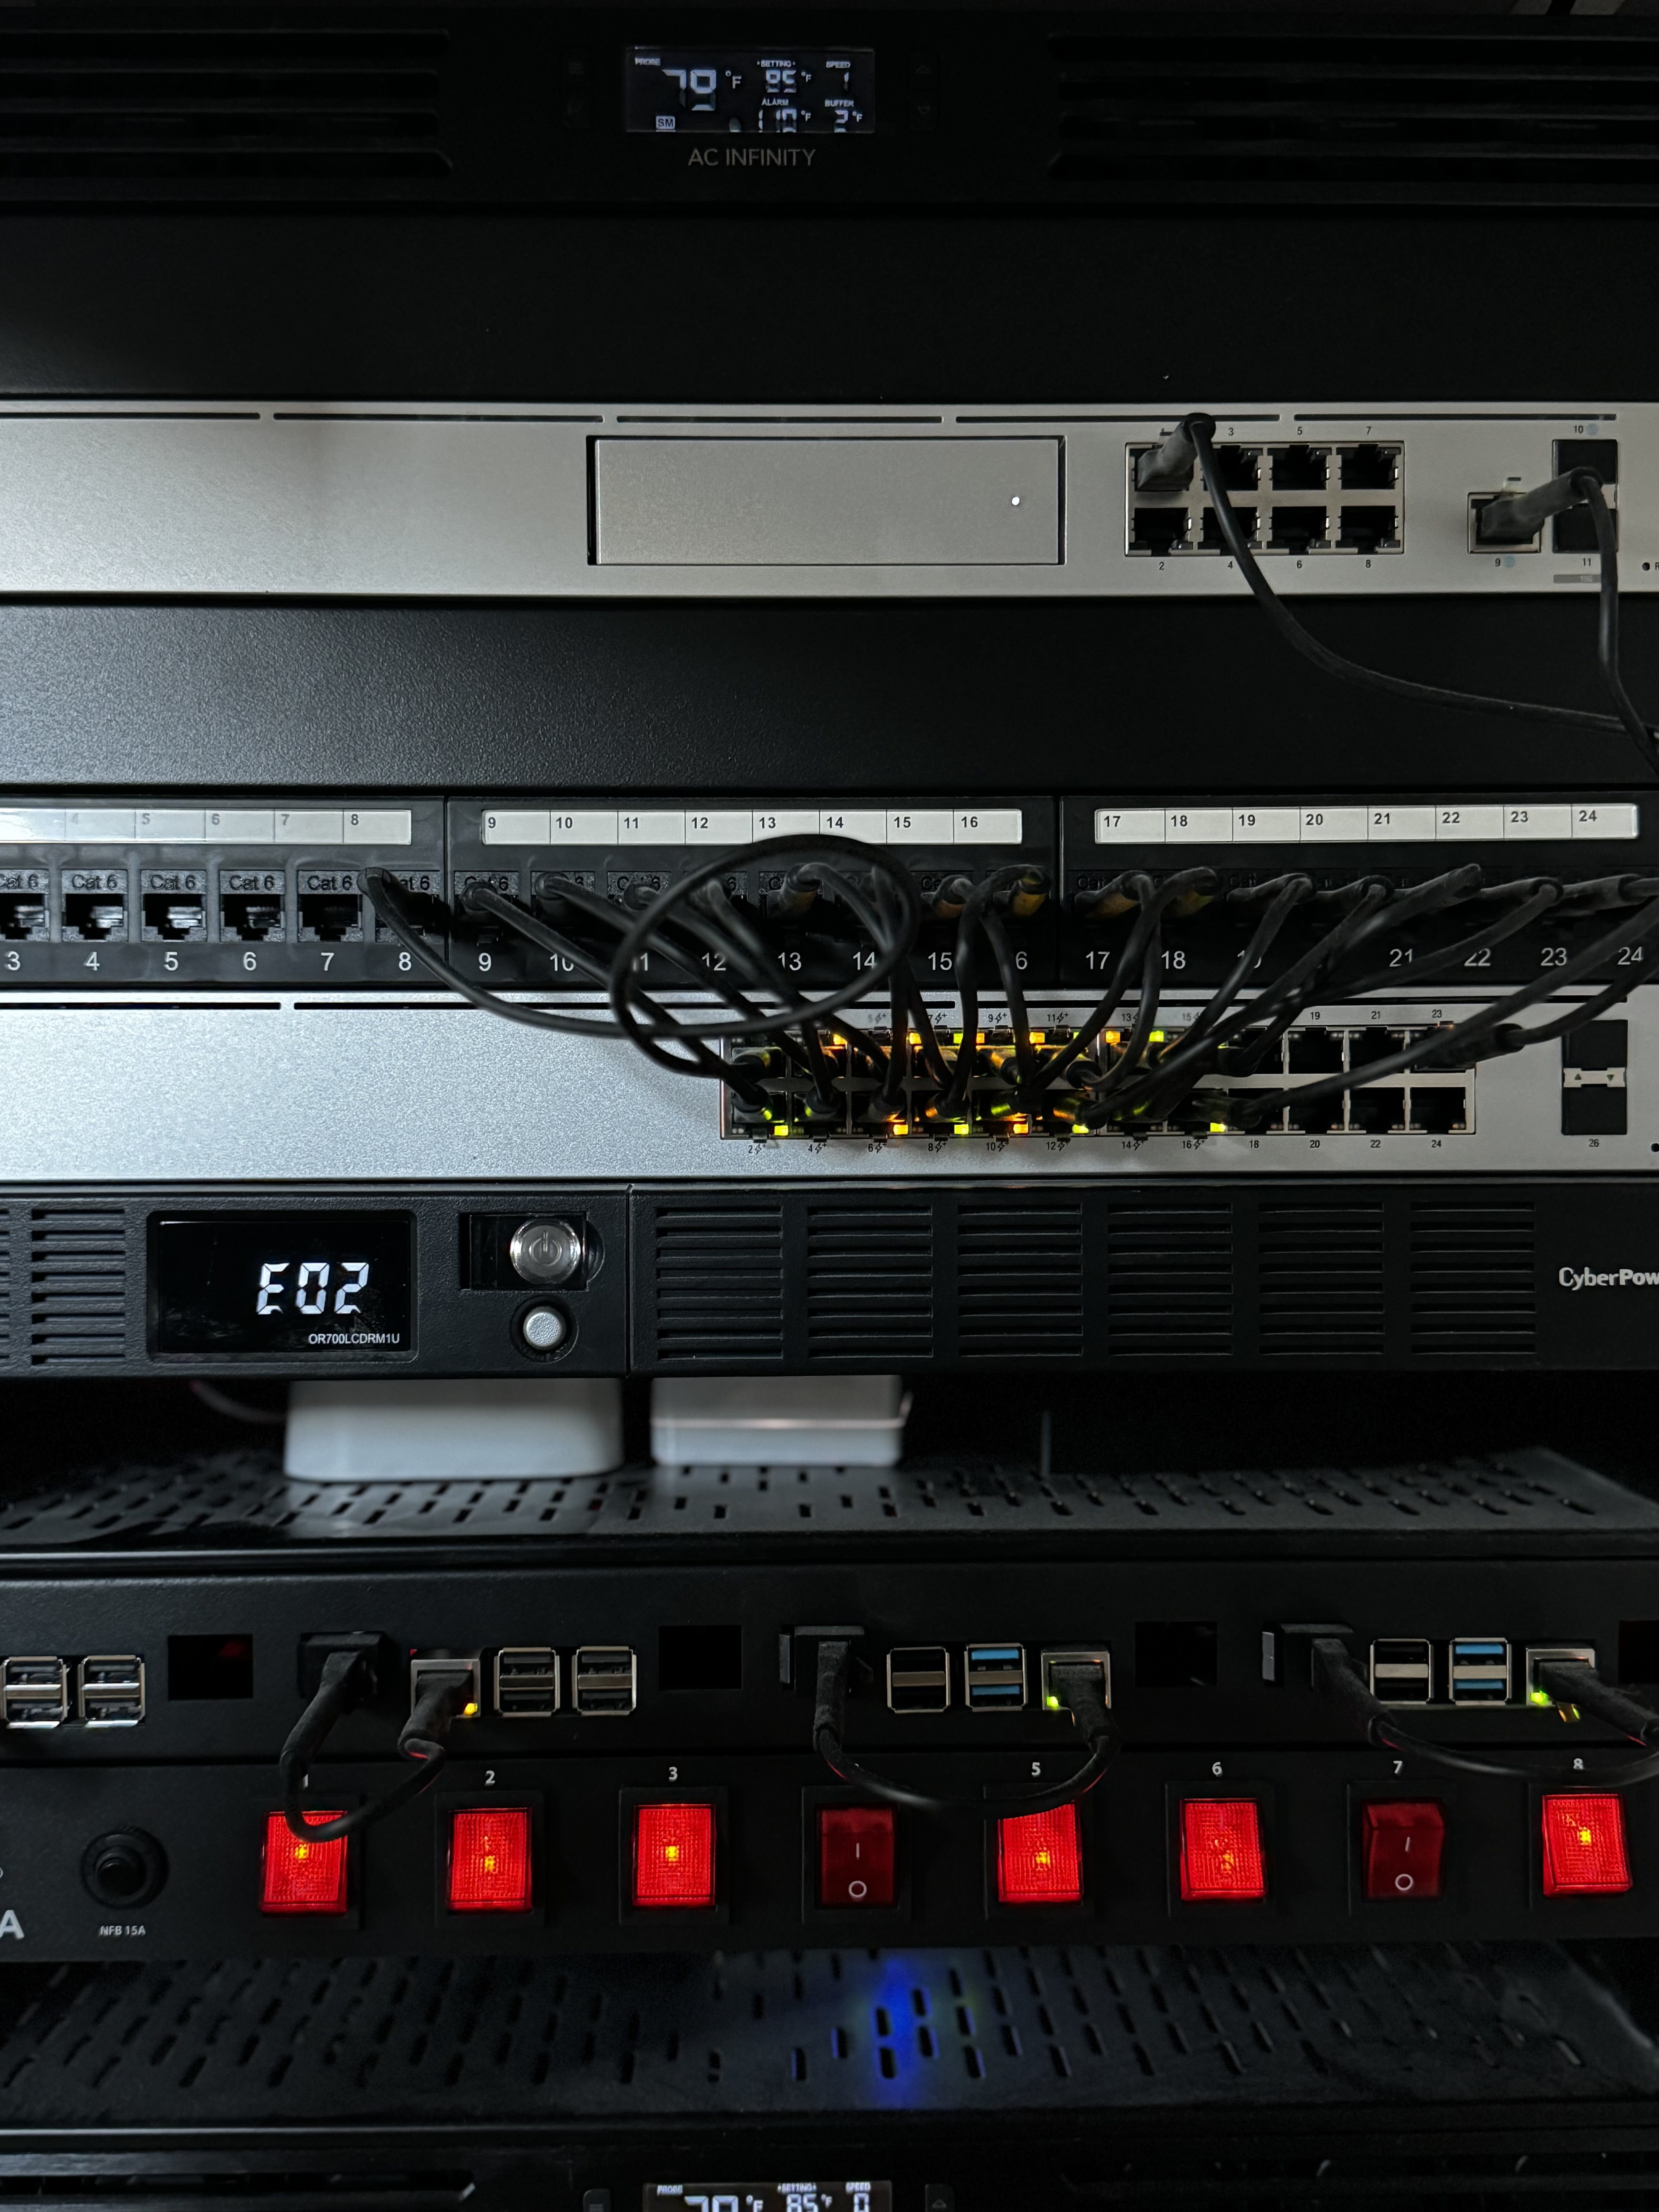
My current test homeab.
I’ve connected our current house with Unifi products and couldn’t be happier. Though slightly dated, this article provides a good starting point if you’re unfamiliar or seeking inspiration. UniFi is one of the few companies whose products I genuinely enjoy working with, at least for now. Barring any major changes, that will be the starting point for the new home.
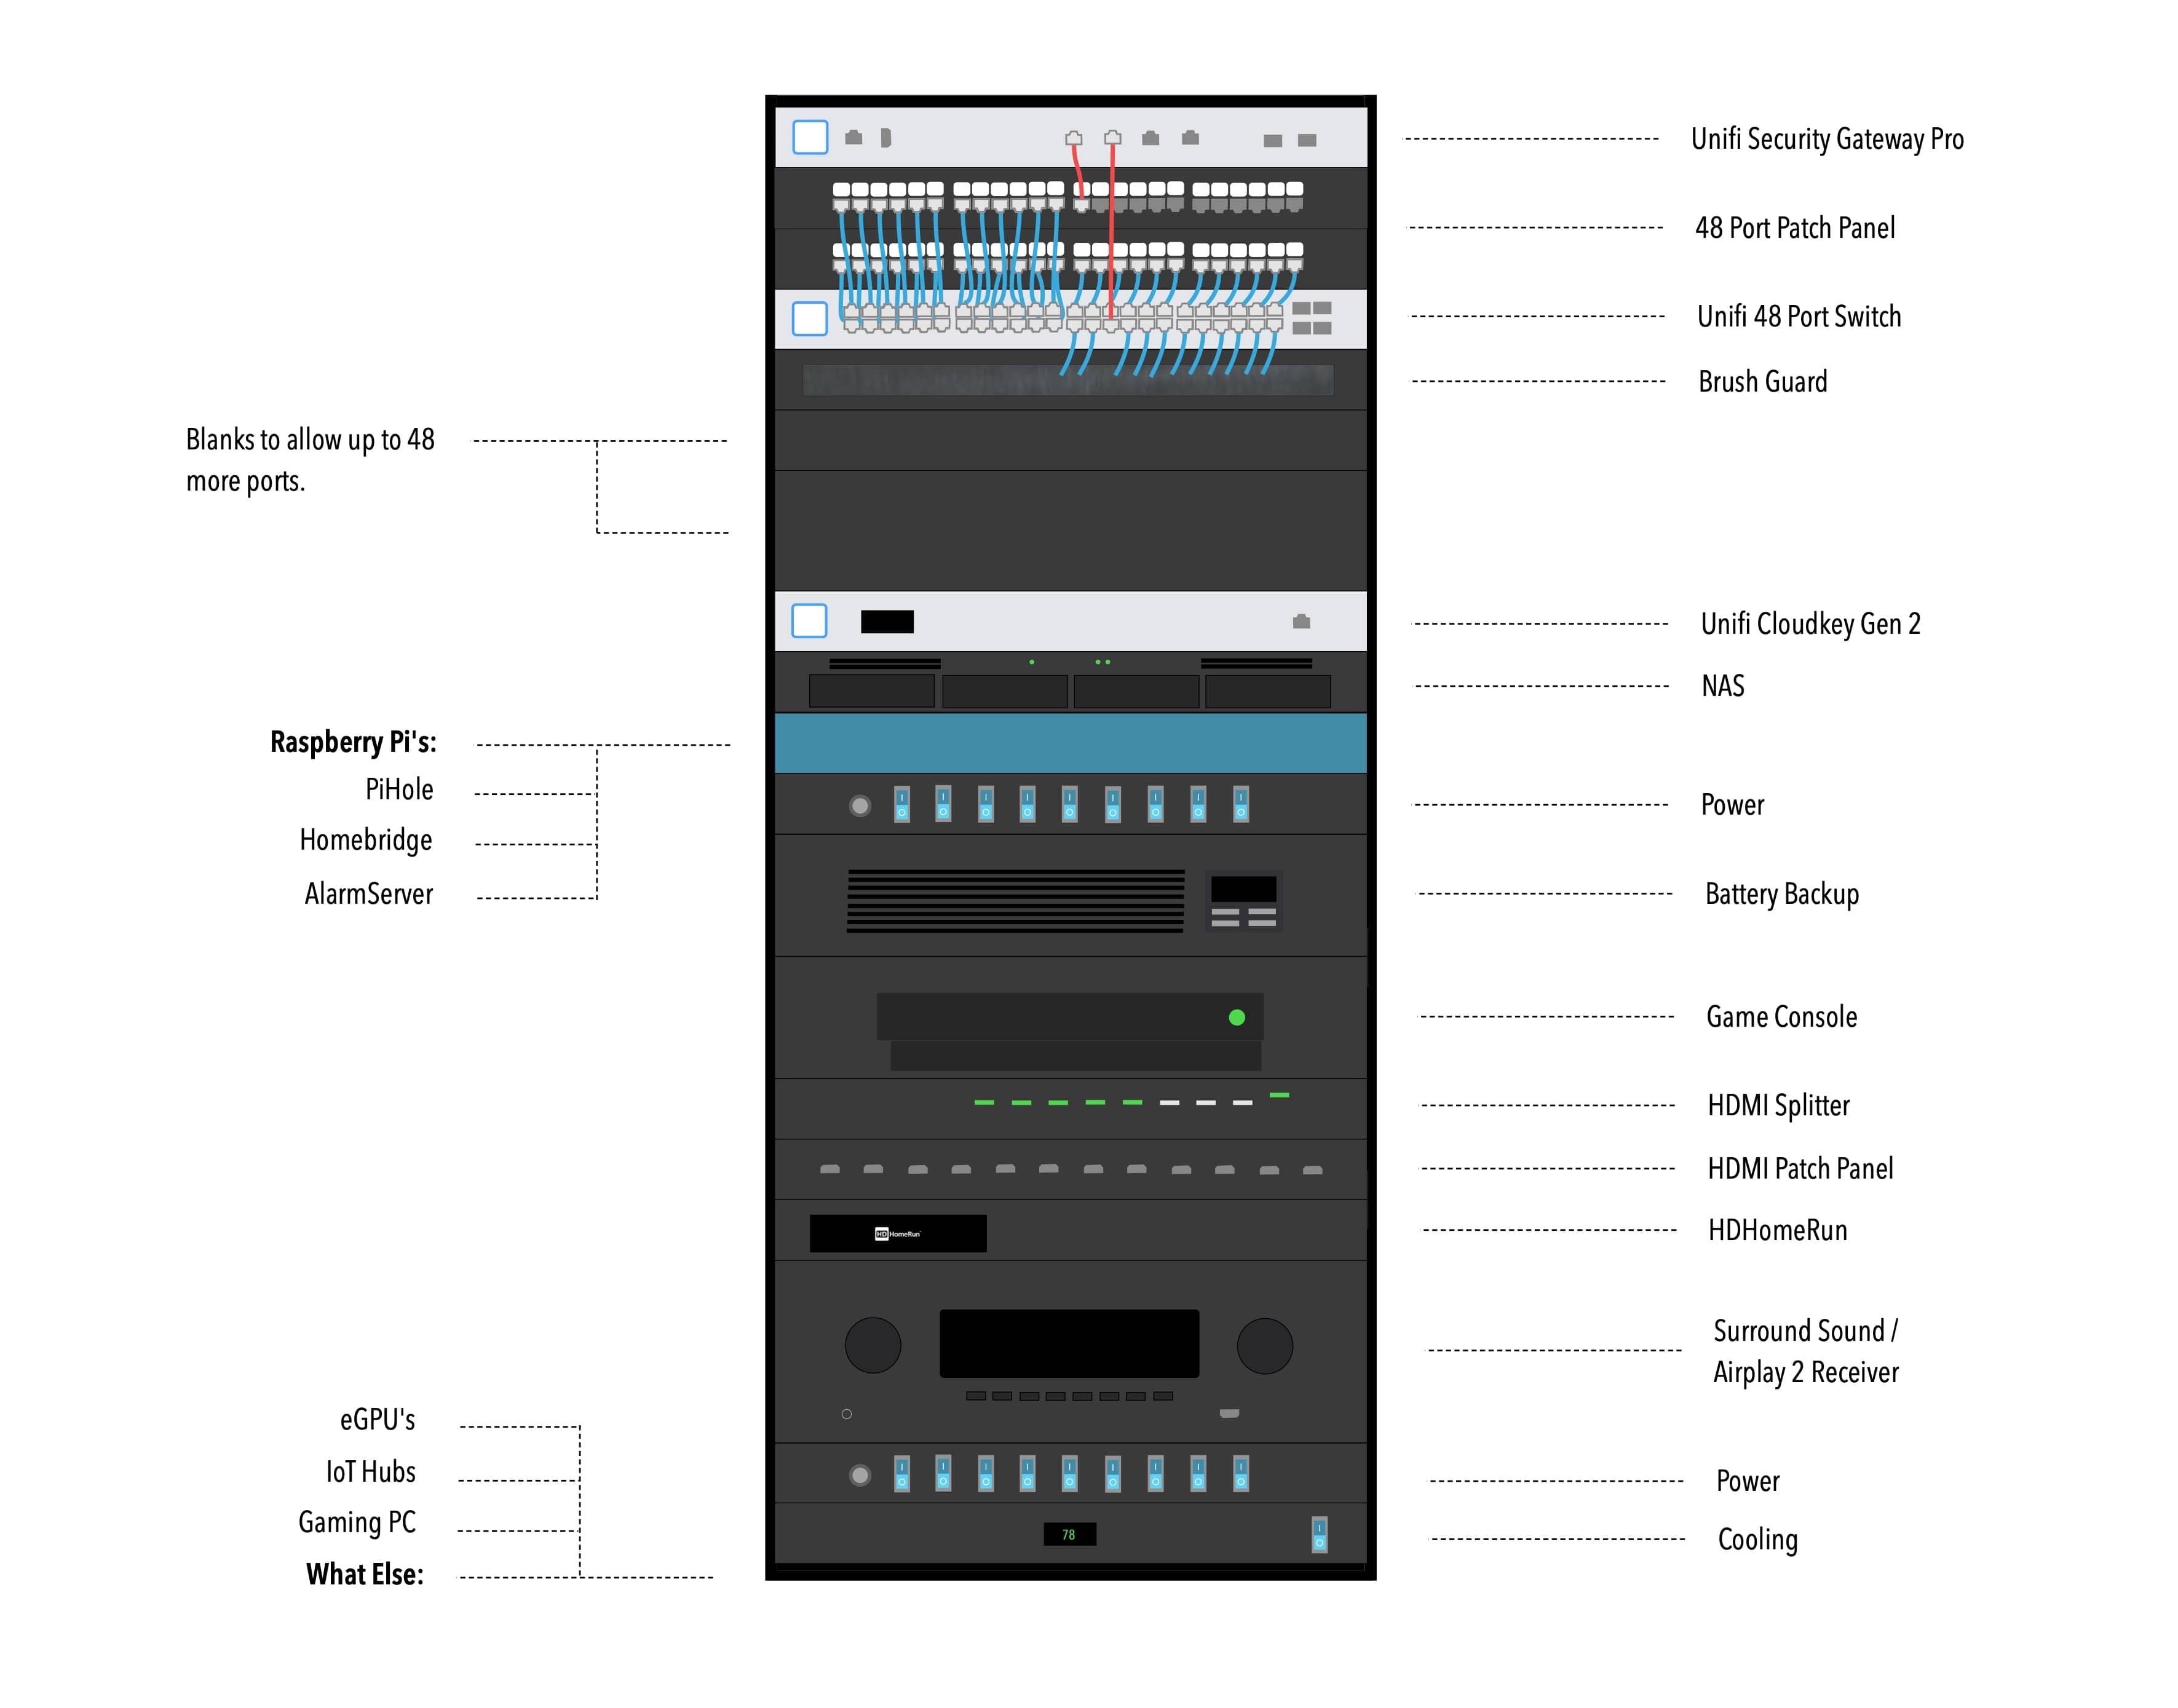
From the top – data will go into a Dream Machine Pro ($379). This used to require a security gateway and cloud key, but now conveniently comes in one box. While pfSense is tempting, the ease of an all in one package may win the day.
All of the runs throughout the house will enter the rack at a patch panel. I hate crimpping Cat6 cables, so a 48 port keystone patch panel ($35) is really the only way to go. This should make debugging easier, and the wiring more organized. I’ll also reserve three rack slots for future expansion. That way, another patch panel and switch can provide 47 more ports, with the last port being a daisy chain to the first switch.
Important Don’t be like me. Make sure you label and run clean wiring as you go. Otherwise, you’re unlikely to do it later, and you’ll have a mess on your hands.
Speaking of switches, the idea with the first Switch 48 ($359) is to allocate 36 ports to the patch panel (covering Access Points, Data to rooms, security cameras, smart devices, etc.), 11 ports to local rack devices, and 1 port for data input. Among these local devices, Raspberry Pi’s hold a special place. First, load up a Raspberry Pi B+ ($46) with Pi-hole for ad blocking at the DNS level. After that, accessories and security panels can be exposed to HomeKit with Homebridge and AlarmDecoder ($80). Originally, I thought I would store them in a Bitscope Blade ($215), but I’m quite happy with rackmount housing ($39) instead.
Update Setting up a Raspberry Pi or two was fairly straightforward. Documented here.
Home & Network Security
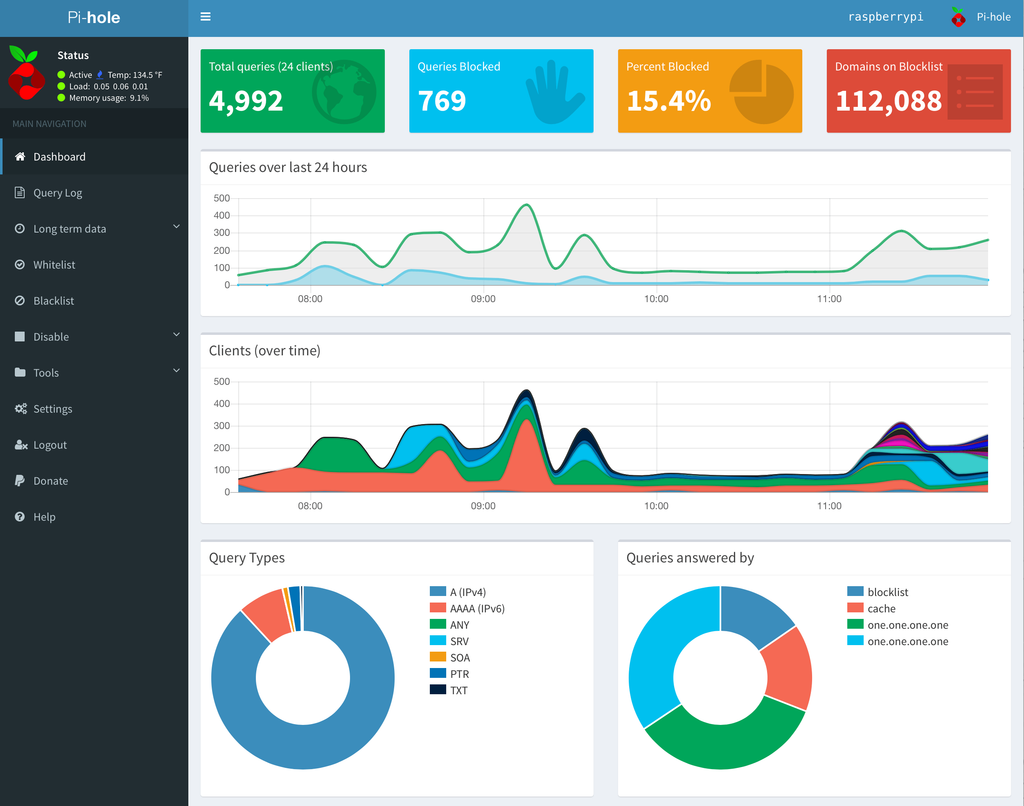
I’m not your best source for network security, but I do implement the basics. Mainly, establish separate VLANs for cameras and IoT devices. Create guest networks for all untrusted Wi-Fi users. Run network traffic through Pi-hole. Unifi also added WireGuard support, which streamlines VPN connections.
Unifi Protect is rapidly becoming my go-to camera monitoring system. I use the G4 Instant for basic monitoring. Although I currently use a wireless G4 doorbell, I encountered challenges finding the right transformer to power the chime. On the new build, I plan to run Cat6 to both the doorbell and the chime, allowing me to use the POE G4 Doorbell Pro. Then the higher end cameras round out the selection in case I need to see finer details like a license plate in low vision.
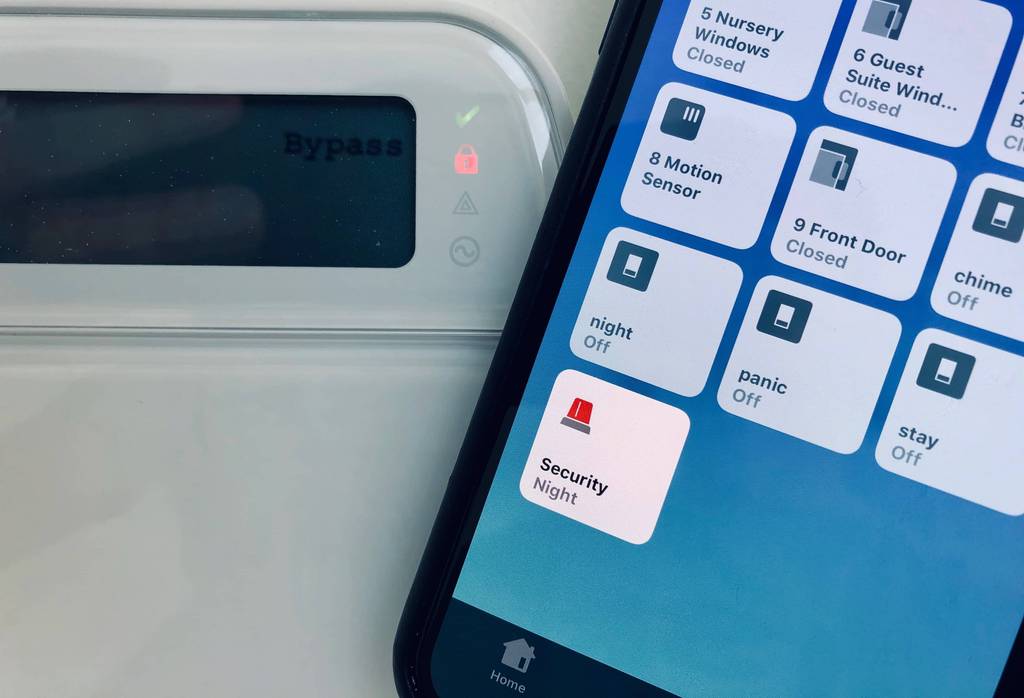
I don’t have a favorite solution for home security. The end goal is something that is exposed to HomeKit, hard wired, and has an optional cellular backup. I mentioned AlarmDecoder above, but it comes with the risk of constantly needing attention. On the other hand, a product like DSC iotega could work, or it may be too locked down and expensive.
Update Setting up Homebridge and AlarmDecoder. Documented here.
Power & Cooling
I tested a CyberPower UPS, and it worked well until I began seeing the dreaded E02 error. It could be due to age, or it could be due to the printer. Either way, the next house will have a dedicated 20amp circuit, and the printer will be on a separate power source. I’ve also found front facing, rack mount power switch controls ($61) to be priceless. They look good, and are quite convenient.
For cooling, I’ll have to decide what temperature the room should be kept at.
According to OpenXtra, server room temperatures should not dip below 50° Fahrenheit, and should not exceed 82° Fahrenheit. The optimal temperature range is between 68° and 71° Fahrenheit. However, Google has stated that it keeps its data center temperatures as high as 80° Fahrenheit as a means to reduce energy consumption.
In this current build, I opted for two fans ($109): one serving as an intake at the bottom and the other as an exhaust at the top. I also stuck with half-depth shelves or perforated shelves to promote airflow. I cool as needed, and run as hot as allowed. 80° would be great, especially in winter. When considering Passive House ventilation, the ERV can take a lot of that generated heat and use it to warm incoming air.
Audio
My audio needs come in two forms – speakers around the house, and home theater surround sound. To address the former, I simply plugged a small Lepai amp into an old Airport Express and it has worked perfectly. There are also newer devices that add Airplay 2 support to speakers.
But what happens when you start running multiple speakers back to your server rack? You don’t want a bunch of small accessories to add Airplay support. So, I began looking at rack-mount audio amplifiers with multiple zones. They seem to address my needs, but most of them require an app for control. Ideally, I want music to play directly from the phone to the speaker with no need for another app to switch zones. I need to do some experimenting and will report back on this.
This brings up a third question —- where does the home theater fit into all of this? I’m open to limiting the need for surround sound to just one TV or room. I could opt for wireless surround sound and contend with potential lag. Or, if connected to a receiver, the components would ideally be located close to one another. My experience with IR range extenders is not great, and we want to ensure that the Apple TV remote remains the sole remote used.
Anyway, this is just a long way of saying that I haven’t figured out the audio setup yet.
Entertainment
For our TVs, the family has fully transitioned to AppleTV’s. Due to their compact size, they can be mounted behind each individual TV. This setup allows only Ethernet to run to the majority of screens in the house. The actual content will then be sourced from either apps or a HDHomeRun and antenna. When combined with the Channels app, antenna TV is as good as ever. I’m also considering rack-mounting the HDHomeRun using a sliding faceplate ($15).
The trickier question is what to do about console gaming. It would be fine to just play on one TV, but I kind of like the idea of splitting the signal to a few areas in the house. I have no other immediate plans for HDMI, but it wouldn’t hurt to make a few runs throughout the house and into a patch panel ($73). From there, a HDMI splitter can take the signal out from the Xbox or PS and send it to a few TV’s.
XBOX ONE Multi Room Setup
The video above explains the concept, and shows the need for USB over Ethernet. I’m going to hold out as long as I can before relying on USB outlets near each TV for the controller to plug in to. I would much prefer just having wireless controllers around, but that will depend on the controllers. The latest Xbox controllers have increased range, so who knows what their next gen console will come with. This will be a last minute decision.
What Else?

But wait – there’s more! Truly, this could be an endless project. Some near term projects that I would like to add include:
- Debugging: A KVM switch, or better yet a rack mounted display ($620). I’ll need something to make it easy to access the command line of the various devices and to aid in debugging.
- eGPU: In a perfect world I could use an eGPU for my computer when I’m working on video, my wifes computer could access it when working with her giant photo library, and a PC would use it for gaming.
- Gaming PC: I have long term plans to get virtual reality set up, so a gaming PC will have to be built. It should be relatively straightforward (minus the GPU question) and live on the rack.
- Network Attaged Storage: Mainly to share projects easily across devices.
- IoT Hubs & Bridges: These annoying, oddly shaped boxes will have to live somewhere. In some cases, this may be in the center of the house. In others, they may have to sit on a shelf in the rack.
- HAM Radio: Why not? I’ve got no experience in this, and nothing of value to add. Seems interesting enough to have around during tornadoes.
The point of thinking about everything I could ever want is to consider rack space. The items above could end up taking another 12U.
Cost
Given all of the above, I’ll probably go with a 48U Rack (up to $1,100). If we consider essentials to be Networking, Power, Cooling and Entertainment then the starting price is $3,683. Add on Audio and Storage to bring it up to $5,012. From there, it is easy to imagine a gaming PC, eGPU’s, radio and miscellaneous bringing us up to $8,000-$10,000.
As the build goes on, I’ll document the process.